HOMEABOUT USSHOP HERECROPDATESCURRENT CHALLENGESTIPS&TUTORIALS

Wednesday, January 31, 2018

"Perfect" by Amanda H

Hi everyone!

Welcome to another Wednesday share from me!

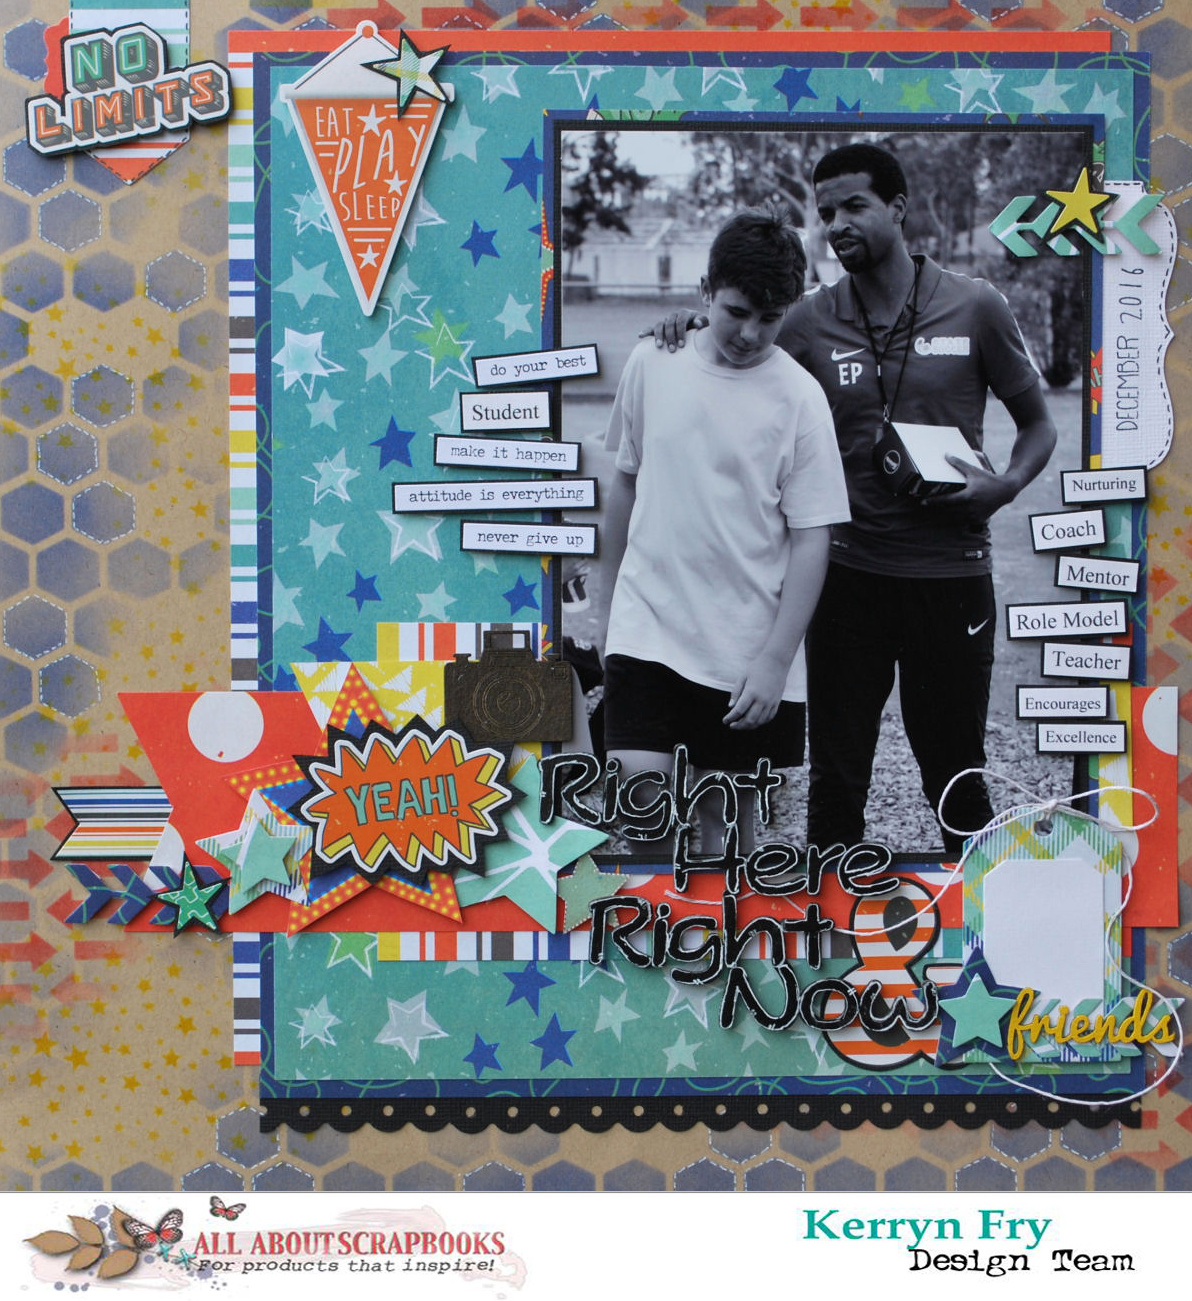
If you have noticed one thing about my scrapbooking.... I love stickers. Sticker packs usually have so many variations and designs, that they can be perfect in the clusters I like to create. However, in this page, the stickers are the main part of the design.

I started with the Simple Stories Romance Collection. And with one patterned piece of paper and LOTS of stickers, I created this page.

I really loved the brick work and heart feature on the "Love Story" paper from the collection. I just didn't want to cut that beautiful sheet of paper! Instead I made it a feature!

I stuck on the photo and grabbed the sticker sheet pack from the collection. Slowly, I added stickers, building up the design, adding different shapes and designs. Some were added with foam tape for some height and definition. 

Here are some close up of the stickers.


This technique was simple but so effective. Thanks for looking today!

Products used:

Papers:

Embellishments:

Amanda


Photobucket

Monday, January 29, 2018

Good Vibes Ahead with Crate Paper Good Vibes by Fiona Johnstone

Hello everyone

Back with another share created with the funky Good Vibes collection by Crate Paper. 

Good Vibes Ahead:

For this layout I wanted to use the darker floral paper as a larger piece so you could see all the wonderful design, but it is very busy so to break it up a little I tore the edges and lay it across the plainer pink paper. 

Then I have layered some of the more neutral patterned papers behind my photo, and added a doily to soften the page. 

I've used the fabulous chipboard stickers from the Crate Good Vibes collection, some Green Tara flowers, Cocoa Vanilla Studio Tassle and some other bits and pieces to embellish my layout. 


My title is from the chipboard stickers plus some Shimelle Thickers. 


Thanks for stopping by
Till next week

Fiona
x
Photobucket
Products Used:

Crate Paper Good Vibes paper - All Good 
Crate Paper Good Vibes paper - Flourish 
Crate Paper Good Vibes paper - Passion
Crate Paper Good Vibes paper - Chill
Crate Paper Good Vibes paper - Life Goals
Crate Paper Good Vibes Chipboard Stickers
Shimelle Go Now Go Luggage Thickers Departure Black
Green Tara Cherry Blossoms Pink
Cocoa Vanilla Studio Love Always Bits & Pieces
Doily

Friday, January 26, 2018

You & Me with Photo Play Memory Lane by Kerryn Fry

Hi Everyone!
Welcome back to the blog on this lovely Friday morning.
Today I am sharing a page created using the collection Photo Play Memory Lane.
Beautiful rich colours, reds and greens combined with grey and white.
The photos are rare snaps of Mr 13 and myself sharing his first experience with snow.
A very special weekend.

With the rich colours in the patterned papers, 
I have been more subtle colouring the Kraft Cardstock.
There are fours layers to the base piece, 
two Crafters Workshop Stencils, a Tim Holtz stencil and a Darkroom Door stamp.
Rich red hearts using Candied Apple Distress Ink, faint moroccan pattern 
with Pine Needles Distress Ink and Picket Fence Distress Ink for the snowflakes.
The random stamping has been done with a charcoal ink. 

The 2 Crafty Squiggly Hearts were painted with Distress Ink
I have used patterned paper to back one of the hearts and then
added some heart stickers for decoration.


The 2 Crafty title You & Me was painted with acrylic paint, 
then stamped using the Script Kaisercraft Texture stamp and gesso. 
Then using the same Darkroom Door stamp from the background
with some red paint, I have added the second layer.
The title has been finished off with a layer of Dimensional Magic.


The Element Sticker Sheet is a fabulous way to embellish the page.
I have used foam tape and black cardstock to add layers to the page.
The lighter patterned papers have been matted with black cardstock
to give them clear definition.

Thank you for visiting the blog today.
Hopefully you have been inspired by my project
and have some time to create this weekend.
Don't forget to pop back on Monday for Fiona's next project.

Products Used:

Photobucket

Wednesday, January 24, 2018

"Today", by Amanda H.

Hello again!

Today is Wednesday, so it is my turn to share!

Ever find the perfect photo to go with a perfect piece of chipboard? I did! 
So.... here is my Lighthouse page!

Have you seen the range of Wood Effect papers in store from ModaScraps? I LOVE LOVE LOVE these papers! They create the perfect base to build a page on. And they are thick enough to handle mixed media without warping. In this page, I have used some Colour Blast to add some colour on the wood grain. Perfect blues for my page!


My first step was to add some Colour Blast White Heavy Gesso to the paper. I used a stiff brush and painted a light coat in the centre of the page. The Gesso is great to seal the page- I know I am going to add a water based colour next, and the gesso stops the colour soaking straight in. This gives me time to play with colour to get it messy and spreading to my liking!

Next I used some Colour Blast Colour Shimmer Dust in Navy. These are shimmery water-based pigment dusts, activated by water. I put a few sprinkles of navy dust onto some old plastic packaging and spray with water. I then turn and smoosh it onto the layout. I can spray more water and use a brush and heat gun to play with the colour. Another benefit of the dusts, is by adding more or less dust or water you can get different shades and intensities of colour.

Next, I added some Colour Blast Colour Paste in Singin the Blues through a stencil.

The last layer was to add some Colour Blast Colour Shimmer Spray in Singin the Blues - with some splatters on the page.

With the background complete, I decide to trim and distress the edges of the ModaScraps paper and mount onto a white cardstock base.


I used 3 different pieces of 2Crafty chipboard on this layout.

Firstly was the Lighthouse chipboard. I painted this with a couple of coats of Colour Blast White Heavy Gesso. To finish the chipboard, I used some Colour Blast - Colour Shimmer Spray - Steel. I took the lid off and using a fine paint brush I lightly painted the edges of the lighthouse.

Next was the Leafy Shrub chipboard. I painted this with a couple of coats of Colour Blast White Heavy Gesso and tucked it in the clusters to the left.

Lastly I used a Word Circle "today" for the title. After inking blue, I decided it needed to be darker so I mixed some Colour Blast Colour Shimmer Dust in Navy with water and painted it.


To finish the clusters on this page I used the following embellishments:

* Vellum leaves and butterfly from Cocoa Vanilla Studio - Bohemian Dream Vellum Accents
* flower stamen (from my stash)
* Puffy blue balloon sticker from Prima - St. Tropez Puffy Stickers
* Word sticker from Cocoa Vanilla Studio - Make A Wish Accessory Stickers


 Thank you SO much for looking today!


Products used:

Papers:

2 Crafty chipboard:

Embellishments:

Inks, Mists, Paints, Mediums:

Amanda

Photobucket

Monday, January 22, 2018

Best Friends with Crate Paper Good Vibes by Fiona Johnstone

Hi Everyone

This week I am creating with the bright and fun collection - Crate Paper Good Vibes.
 I adore bright colours and this range is fabulous!

My layout: Best Friends


Loving the bright colours in this collection, and went with a neutral kraft background to highlight the colours. I've used several of the patterned papers to create my paper layers. I then cut out the shipping tags from the So Chill paper, then created my own tag from a 3x4 piece on the paper. 


I've used the puffy stickers and the chipboard stickers from the Crate Paper Good Vibes collection to embellish my page. I've finished it off with an assortment of other embellishments from my stash (see product list). 


Another close -up


Thanks for stopping by
Till next week
Fiona
x

Photobucket
Product List:
Crate Paper Good Vibes paper - Fresh
Crate Paper Good Vibes paper - Flourish
Crate Paper Good Vibes paper - All Good
Crate Paper Good Vibes paper - Life Goals
Crate Paper Good Vibes paper - Passion
Crate Paper Good Vibes paper - Perfection
Crate Paper Good Vibes paper - So Chill
Crate Paper Good Vibes Embossed Puffy Stickers
Crate Paper Good Vibes Chipboard Stickers
CVS Make a Wish Bits & Pieces
Flutterby Designs Flair
Pink Paislee C'est La Vie Puffy Sticker
Asstd Enamel Dots
Kraft Cardstock

Friday, January 19, 2018

Busy doing absolutely Nothing with ModaScraps Viaggi Vintage by Kerryn Fry

Good morning everyone!
Hope you are staying cool wherever you may be.
I'm back to share my next project and I've gone back to the gorgeous collection kit
from ModaScrap to finish a page I started two weeks ago.
Viaggi Vintage is a soft, neutral collection and 
it was the perfect match for photos of our family pet, Spike.
Not sure if I should have a **lizard warning**, but he is so cute!


The Kraft cardstock has been covered with two layers.
Starting with a 12x12 Crafters Workshop Template and  Vintage Photo Distress Ink,
I've covered most of the cardstock.
The next layer is a 6x6 Crafters Workshop Template and Faded Jeans Distress Ink
I've worked it around the photo for splashes of colour.


The 2 Crafty title Busy doing absolutely Nothing has been painted with Barn Door Distress Paint.
I love the small pop of red in the papers and it works perfectly with Spike's colouring.
Using the cream background on the reverse of the patterned papers,
I have again die-cut some elements to embellish my page.
The splotches were die-cut, covered with Distress Paint and then coated with Dimensional Magic.
The leaves were cut from both the reverse and patterned papers for contrast.


The Kaisercraft Doily is a prominent feature of the page.
I've made good use of some of the negative pieces from the doily 
and used them as arrows on the page,
they have been painted and coated with Dimensional Magic.


There are plenty of other die-cuts, the arrow and scallop along the base of the photo,
the heart banner and tab at the bottom of the page and the number and date tab.
Most have been left in that natural cream, but I have painted a few pieces for pops of colour.
I'm glad I let this page sit for a few weeks, I'm really happy with the finished page
and I think Spike will love it.

Thanks for dropping by today, I hope you have been inspired.
Have a wonderful weekend.
Please check back Monday for Fiona's next project. 

Products Used:
Bazzill Kraft Cardstock
ModaScrap Viaggi Vintage Collection Kit
2 Crafty title Busy doing absolutely Nothing
Crafters Workshop Template
Distress Ink
Distress Paint
Kaisercraft Decorative Die - Detailed Doily
Dimensional Magic
Photobucket

Wednesday, January 17, 2018

"NZ family holiday", by Amanda H

Hi AAS fans,

Here is my page to share this lovely Wednesday.

This will be the opening title page to our New Zealand holiday album. I had bought the New Zealand mirror pieces (which are hard to photograph!), and I'd saved them to add to this title page. I combined it with some 2 Crafty chipboard and some Fancy Pants papers from the "Take Note" Collection to create this page.


I took a number of papers from the Fancy Pants collection and cut them into different panels to build the background. I used some black machine stitching on some paper panels (don't look too close, it is pretty messy stitching!). I also inked the edges of each paper.

Under the photo, I used one of the Frames from the Messy Squares 2 Crafty Chipboard. I inked this chipboard in a dark charcoal ink and used foam tape to mount the photo with some dimension over the chipboard.


I raided my great All About Scrapbooks stash to finish off the page.

For stickers, I used:
* Cocoa Vanilla Studio - You Rock Sticker Accessory sheet - using the word stickers.
* Bella Blvd Puffy Black hearts.
* Fancy Pants - Family & Co Puffy Stickers - using arrows, dots and hearts.

I also added green Kaisercraft mini paper blooms.


For the title I used the "family" word from the Family & Co Puffy Stickers set as well as a 2 Crafty Chipboard word from the Travel Mini word set. The chipboard word (holiday) was sprayed a copper colour, using Colour Blast Colour Shimmer Spray in Sienna. While I had the Colour Shimmer spray out, I also splattered some colour from the spray wand.


Thanks for looking,
Amanda

Products used:

Papers:


2 Crafty chipboard:

Embellishments:

Inks, Mists, Paints, Mediums:


Photobucket

Monday, January 15, 2018

A House is Not a Home with Simple Stories Life is Ruff by Fiona Johnstone

Hello everyone

This week I've got a page created with Simple Stories Life is Ruff of our fur baby Harry.  This is a fab collection for our beloved dogs and their is also a fab one for cat lovers! (Find the cat one here)

A House is Not a Home without a Dog

I love this photo of Harry I snapped recently. 
I love to use a kraft background for my Harry pages as it suits his colouring so well. 

I've layered up lots of the Simple Stories Life is Ruff papers and created a design where they flow across the page. 


I've used one of the journaling rectangles as my title, I've cut it out and trimmed it before mounting it onto another one of the journaling cards to give a red border. 

The stickers are just the perfect embellishment to the page, but to finish it off nicely I have used the cutest little pawprint mask by Kaisercraft to add some little footprints to my page. 

Thanks for stopping by
Till next week
Fiona
x
Photobucket
Simple Stories Life is Ruff paper - Journaling Cards 3x4
Simple Stories Life is Ruff paper - Good Dog
Simple Stories Life is Ruff paper - Ruff Ruff
Simple Stories Life is Ruff Cardstock Sticker Sheet
Kaisercraft 6x6 PawPrints Template
Kraft Cardstock
Pinecone ink

Friday, January 12, 2018

Right Here Right Now with Photo Play Boys Rule by Kerryn Fry


Good morning everyone.
Today I am sharing a page created using the latest collection from Photo Play.
Boys Rule is a gorgeously, bright, masculine collection that fits perfectly for capturing Mr 13's memories.
The photo was taken in 2016, a snap taken of quiet moment between our boy 
and one of his amazing soccer coaches. 

I'm sure you have all worked out by now how much I love using Kraft cardstock as my base.
So working on the kraft base first, I've started with a hexagon stencil and Blueprint Sketch Distress Ink.
I've stenciled mainly around the edges and then randomly doodled using a faux stitch around
some of the hexagons with white gel pen.
The next layer of ink is Mustard Seed Distress Ink with a star stencil 
and then Barn Door Distress Ink and the 6x6 Arrow Crafters Workshop Template.
That's the background finished.


I used a few stickers to create small clusters on the page.
I have matted them with black cardstock to give them more dimension.
The 2 Crafty title Right Here Right Now has been painted black using Distress Paint
and then I have outlined each letter using the white gel pen.


The stars, arrows and tag have been die-cut from white cardstock and patterned paper.
I have used foam tape to add more layers to the page.
The word Friends has been cut from a 2 Crafty Word circle 
and painted with Mustard Seed Distress Paint.


The 2 Crafty Mini Camera was painted with Ground Coffee Distress Paint
and added to the main cluster.
Some of the words have been created with a word document and white cardstock,
the quotes are from Tim Holtz.


That's my page for this week.
Getting ready to starting 3 weeks holidays and looking forward to plenty of craft time.
Thanks for visiting the blog today, I hope your have a fabulous weekend 
and don't forget to check back on Monday to see Fiona's next project.

Products Used:


Photobucket