HOMEABOUT USSHOP HERECROPDATESCURRENT CHALLENGESTIPS&TUTORIALS

Friday, June 30, 2017

A Wish Come True with Jillibean Soup Healthy Hello by Kerryn Fry

Hi Everyone!
I'm back to share my next project with you all.
Today my page features the beautiful collection from Jillibean Soup Healthy Hello.
This collection has such pretty papers and they have complimented my photos so well. 
The photo is from my great-niece's Frozen birthday party a few years ago.
A very simple background for this page, a Kaisercraft Template and Broken China Distress Ink.
I have then doodled with a black pen around a few of the patterns. 
The 2 Crafty title piece A Wish come True was given a light coat of gesso 
and then painted with Picket Fence Distress Paint for that crisp white base coat.
Once the paint was dry I applied a thick layer of Diamond Stickles. 
Love how it sparkled in the sun light.


The same steps were done to the 2 Crafty Wispy Dandelions
The flowers were cut from the Hearty Hello papers Jar of Jambo and Hint of Hello.
The flower centers have been given a nice sparkle with Diamond Stickles as well.


I am not sure if you have spotted them, but tucked within each flower cluster on the page 
you may see a few of the 2 Crafty Summer Leaf Stems.
They were painted with Peeled Paint Distress Paint, cut into smaller pieces and 
then randomly placed amongst the flowers for some extra greenery.
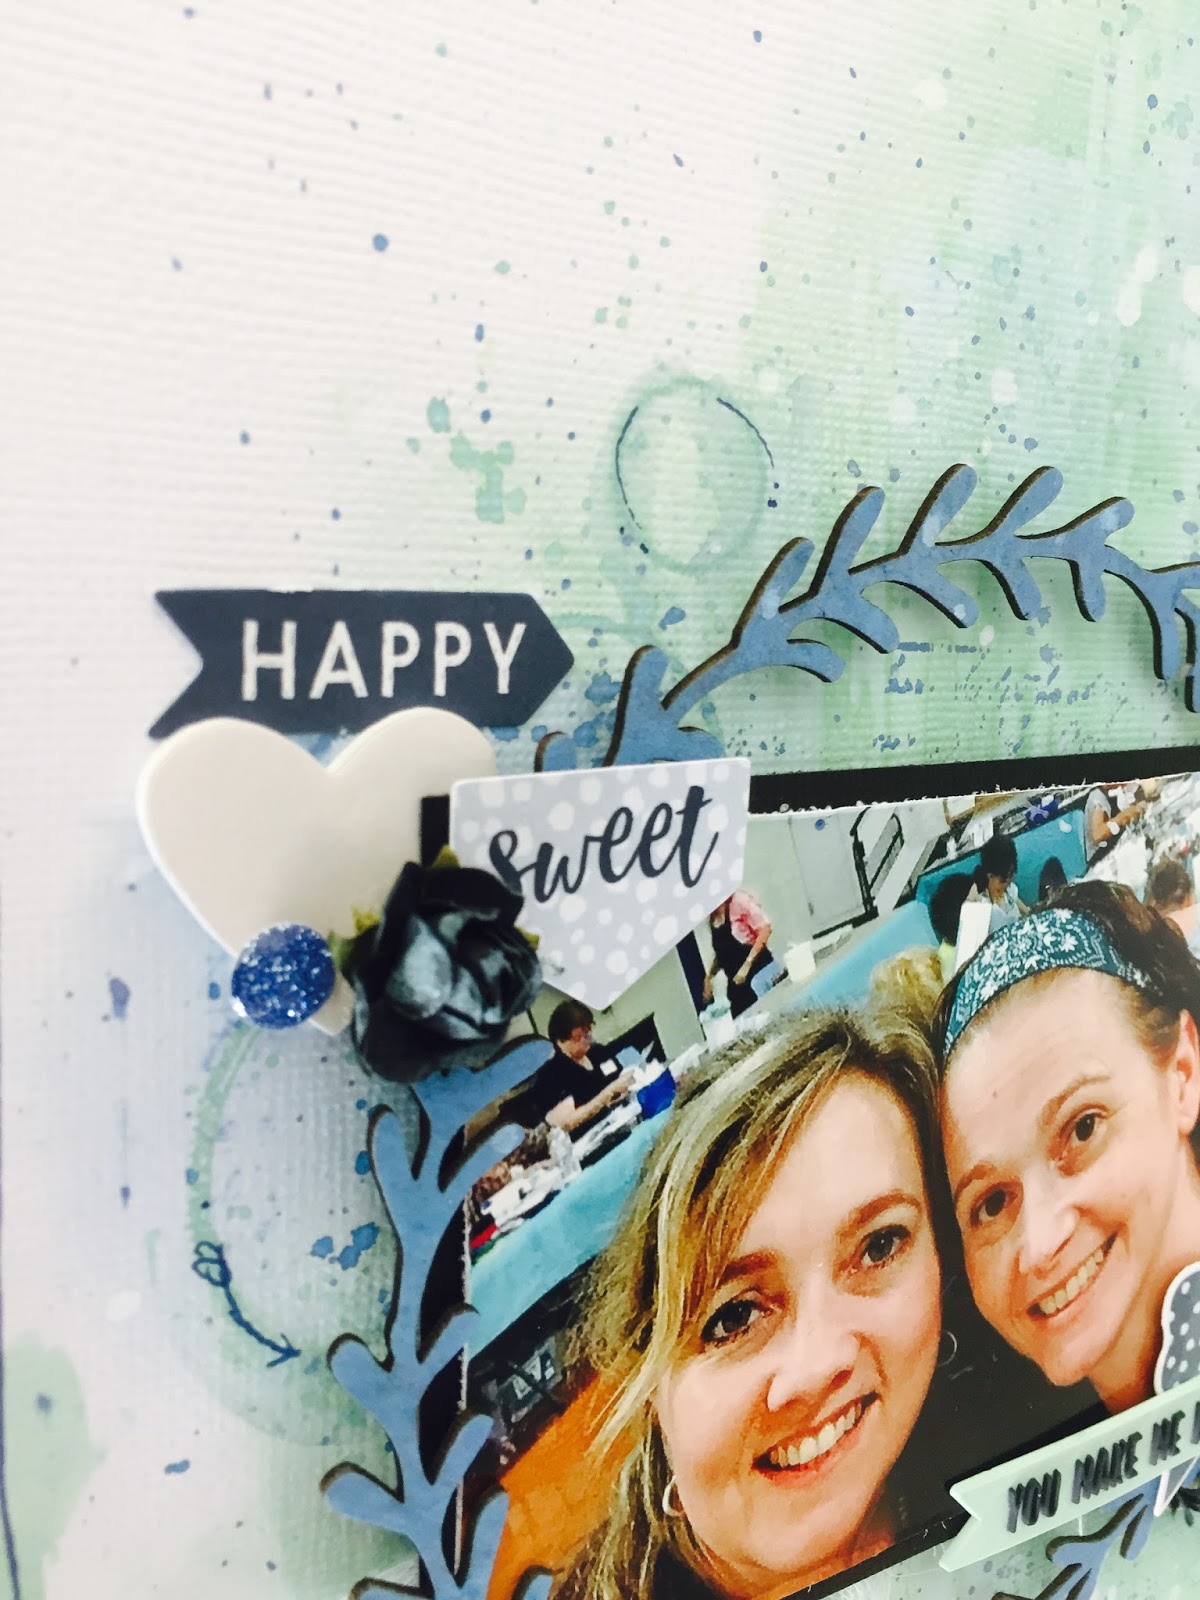
I have used the saying from the Bite Size Bits Paper as a feature on the main cluster.


I loved doing the fussy cutting of the flowers so much, I decided to do a little more, call me crazy!
I cut out some words from Herbed Hola and arrows from Aged Aloha.
I popped them on some 3D foam to give them dimension.


That's all from me for today.
Thanks for visiting, I hope you have been inspired by the layout.
Have a wonderful weekend.

Products Used:

Photobucket

Wednesday, June 28, 2017

"Smile" featuring KC Daydreamer, by Amanda H

Hello AAS fans!
 
Another Wednesday ticks over and you've got me on the blog again!
 
Today I have teamed some papers and embellishments from the Kaisercraft Daydreamer collection with some 2 Crafty chipboard, for this sweet page of my sweet daughter. She is my oldest girl and has just turned 14, and she is every bit as sweet as she looks in these birthday photos (most of the time!).
 
Here is the page and some close ups:
 

Somehow the KC Whimsical paper from the Daydreamer range screamed at me as an easy and perfect background paper for these photos. This paper was really interesting, with some "faux" painted effects, which I incorporated into the overall design of the page.

I also matted the photos on some the KC Yolo paper, using the soft pinkish tones on the back side of the paper. I also layered a piece of the KC Stargaze paper, behind the photos. On either side of the photos I cut one of the 2 Crafty Hessian Patches chipboard, which I had inked black. I love the extra layer of detail it adds!

Even though the Daydreamer range has pink tones, I decided to incorporate purple into the page to match the colours in the photos.

In the close ups, you will see how I have used 2Crafty chipboard and some Kaisercraft embellishments to finish the page.


I did a little jump for joy when I noticed that the 2 Crafty Miniature Circle Frames were the PERFECT size to frame the circle stickers from the KC Sticker sheet. I used some purple embossing powder from my stash to heat emboss these circles, and then stuck them to frame the circle stickers. While I was embossing, I also embossed some of the wood veneer pieces (hearts and "awesome" word) from the KC Wood Flourish pack. Some circles and hearts were simply inked black with a coat of Dimensional Magic for the shiny finish.

Throughout my page I used stickers (arrows, words and sentence strips) from the KC Sticker sheet.

On this side you can see another circle-sticker-heart combo.

In the top cluster, I have used more stickers, hearts and circles, but I have also added one of the very cool rubber charms from the Cocoa Vanilla Studio Wild at Heart collection

 For something a little extra, I used some purple spray from my stash to colour some white Kaisercraft mini paper blooms.


The final touches were a few purple sequins as well as some subtle purple and black splatters.


Products used:

Papers:

2Crafty Chipboard:

Embellishments:


Thank you for looking today!

Amanda


Photobucket

Monday, June 26, 2017

Panda Love with Bella Blvd Popsicles and Pandas by Fiona Johnstone

Hello everyone

Swapping out to some older holiday snaps this week with a page on Panda's, using Bella Blvds Popsicles and Pandas collection. These are my daughters favourite animals - she fell in love with them when we saw them in Hong Kong. This photo was taken that day with some sculptures outside the panda exhibit. 

Panda Love


I've used some Color Blast Shimmer Dust in Paris onto my cardstock on the right half of the page, before using a full strip of the cute panda printed paper on the left. I've combined papers from the collection to make some layers under my photos.


The sticker sheet and puffy stickers in the collection are perfect to embellish this page. The cute hexagonal panda is from the expoxy stickers - so cute!


I finished off with some stamping and a bright title. 

Thanks for stopping by
till next week

Fiona
x

Photobucket
Products Used:

Bella Blvd Popsicles & Pandas paper - Panda Life
Bella Blvd Popsicles & Pandas paper -  Oh Summer
Bella Blvd Popsicles & Pandas paper -  Daily Details
Bella Blvd Popsicles & Pandas paper - Borders
Bella Blvd Popsicles & Pandas - Epoxy Stickers
Bella Blvd Popsicles & Pandas - Puffy Stickers
Bella Blvd Popsicles & Pandas - Fundamental Sticker Sheet
Color Blast Shimmer Dust - Paris
Cocoa Vanilla Studio Love Always Wood Veneer
AC Thickers - Pink Foam

Friday, June 23, 2017

Father & Son Moment with My Minds Eye Hey Mister by Kerryn Fry

Morning All!
It's the end of another week, they are just flying by, 
but it also means it's my turn to share a project with you.
I decided to have another play with the masculine collection,
My Minds Eye Hey Mister
I 've grabbed a photo from the archives of my two favourite males,
can you tell they are related!

I have layered Distress Inks and stencils on the kraft background.
Using Chipped Sapphire, Aged Mahogany and Hickory Smoke to highlight the colours
 from the papers.
I  have used three different stencils, two are from Crafters Workshop to create some interest.
In random parts of the page I have also added some stamping with a Darkroom Door script stamp 
and Brilliance ink


The stars from the 2 Crafty Stars Pack were given a mixed coat of Distress Paint 
in Aged Mahogany and Walnut stain.
The stars were given a good coat of Glossy Accents.
The Wired Stars have been covered with Brilliance Inks


The 2 Crafty title piece Father & Son Moment and Giant Gears have been given a few coats of 
Hickory Smoke Distress Paint to start as the base colour.
Once the paint was dry, I lightly brushed over the chipboard with a charcoal ink. 
The final steps of the title piece was some stamping with the script stamp 
and some Brilliance Ink and then a final coat of Glossy Accents.


The Giant Gears were finished off with Metallic Rub in Bronze and Brown 
and then sealed with Glossy Accent.

Hopefully you have been inspired with my page today.
Thank you for visiting the blog and I hope you have a fabulous weekend.
Products used:
Bazzill Kraft Cardstock
My Minds Eye Hey Mister - Galaxy Guy Gold Foil
My Minds Eye Hey Mister - Woof Gold Foil
My Minds Eye Hey Mister - Strong Man Gold Foil
My Minds Eye Hey Mister - Work It Gold Foil
My Minds Eye Hey Mister Cardstock Stickers 
2 Crafty Father & Son Moment
2 Crafty Stars Pack
2 Crafty Wire Stars
2 Crafty Giant Gears
Crafters Workshop Template
Distress Ink
Distress Paint
Rangers Glossy Accents
Darkroom Door Stamp
Photobucket

Wednesday, June 21, 2017

"You make me happy", by Amanda H.

Hi everyone!
 
Who else is a huge Tim Holtz fan!?!? We love his colours and his products, and are always keen to try out his new stuff. The new Distress Oxide ink pads are really interesting to work with, and today's page will showcase a few ways to try the inks!
 
Here is the final page, but I have also included some photos of the different techniques I have tried.
 
 
A simple page, starting with a sheet of White cardstock, but layers of colours added with the Tim Holtz Distress Oxides, but also some Cocoa Vanilla Wild at Heart embellishments.
 
In my page I used the Distress Oxides in Cracked Pistachio (the mint) and Faded Jeans (the blue). I also heat set (using my heat gun) each layer of colour I added.


Firstly I used a Ranger blending tool to add Cracked Pistachio to the white cardstock background.
  

Next, I put a Tim Holtz stencil over the colour and sprayed with water.


The inks react with water. So adding water makes variations in the colours of the ink.
 It looks pretty cool!


Next I used Faded Jeans Ink pad and KC script stamp to do some random 
stamping on the page.


Adding some sprays of water softens and melts the stamped images.


Pressing the Faded Jeans ink pad onto a surface, then adding a squirt of water, creates
 a liquid form of the ink. I was able to use this to add splatters all over the page.


Similarly with the Cracked Pistachio, adding some ink and water, I can make a liquid form 
of the ink, which I used for splatters and to paint an edge around the entire page.


Lastly, I used some IndigoBlue circle stamps with the Distress Oxides to stamp circles
 on the page. Again a little water to the stamped images creates a soften, watery effect.

I did do some water and white paint splatters right at the end of creating the page.

Now let's see the final page again and some close ups.


Finishing the page, I used the 2Crafty Viney Circle Frame around the photo and then added some Cocoa Vanilla Wild at Heart embellishments. 

I inked the Viney Circle Frame with the Faded Jeans Distress Oxide. Some water splatters on the chipboard at the end, gave it a soft mottled effect.


In this cluster, I used some diecuts from the Wild At Heart Ephemera pack, as well as a Flair Button and Rubber charm. Combined with some muslin & thread from my stash, a white heart from the Pink Paislee Thickers set and glitter enamel dot, it looks sweet!


More of the beautiful bits and pieces in this cluster!

I also used a black Kaisercraft mini paper bloom, which I rubbed in the Cracked Pistachio Distress Oxide to add some extra colour to the black flower. The ink colour adds to black really well!

 
And more!


I love the mixed effect  of colours the Distress Oxides create in the background!

We'd love to see what effects you can come up with on your latest projects!

Products used:

Papers:

2Crafty Chipboard:

Embellishments:

Mediums/ Tools:

Thanks for looking today!
Amanda

 
Photobucket

Monday, June 19, 2017

Boy oh Boy with CVS You Rock by Fiona Johnstone

Hello everyone

Having a play with the fabulous Cocoa Vanilla Studio collection: You Rock! And it does. Love the colours and the embellishments are amazing. 

Boy oh Boy
 
To create my layout I have started with some marshmallow cardstock and created
 my blue background using Colourblast Shimmer Dust in Duke, lots of water and
 paper towels. 
 
 
While that was drying I created my paper layers, using some of the ephemera
 to add some extra layers, then embellished using more ephemera, wood veneer
 shapes, rubber charms, enamel shapes and the sticker accessory sheet!

 
Once that was complete I added some stamping using some Kaisercraft
 texture stamps to finish off the page. 
 
 
Thanks for stopping by
Till next week
Fiona
x
Photobucket
Products Used:
CVS You Rock paper - In Line
CVS You Rock paper - Night Sky
CVS You Rock paper - Galactic
CVS You Rock paper - Plus One
CVS You Rock paper - Star Shine
Echo Park Magic & Wonder paper - Jumbo Dots
CVS You Rock - Die Cut Ephemera
CVS You Rock - Enamel Shapes
CVS You Rock - Rubber Charms
CVS You Rock - Wood Veneer Shapes
CVS You Rock - Accessory Sticker Sheet
Colour Blast Shimmer Dust - Duke
Colour Blast Shimmer Dust - Sunflower
Cardstock - Marshmallow
Kaisercraft Texture Stamp - Numbers
Kaisercraft Texture Stamp - Dictionary 

Friday, June 16, 2017

Go See Ride with Simple Stories Say Cheese 3 by Kerryn Fry

Good morning all!
Hope this Friday finds you all happy and well.
This week I've stepped back in time to create my page, 
using photos from when Mr 13 was a cooperative and willing participant.
This page features the amazing Simple Stories Say Cheese 3 collection, 
the colours and patterns are so easy to put together.
 

The kraft background has been given a little colour using the Distress Oxide Inks in Fired Brick 
The 2 Crafty Star Bubbles were covered with a light coat of Distress Oxide Ink Faded jeans
and cut into smaller pieces to add to the cluster on either side of the photos.
The cluster below the photo has come together with pieces from the 
Say Cheese 3 Bits & Pieces pack, some foam tape and some fussy cut words.


More fussy cutting along the base of the photos, elements from the Say Cheese 3 paper, What a Blast.
Call me crazy, but I find fussy cutting very relaxing and this took a little while.


The sun and clouds were cut from the Say Cheese 3 paper - 3x4 Journal Card Elements.
The perfect addition to the playground photos.
One of the many reasons that I love Simple Stories Collection,
there is always plenty to cut out and use just with the papers.
A little faux stitching added to random pieces and that is the page complete.

That's all from me today.
Thanks for visiting, I hope you all have a fabulous weekend.
Happy Scrapping!
Products Used:
Simple Stories Say Cheese 3 paper - 3x4 Journal Card Elements
Simple Stories Say Cheese 3 paper - Dream Big
Simple Stories Say Cheese 3 paper - Magical Memories
Simple Stories Say Cheese 3 paper - What a blast
Simple Stories Say Cheese 3 paper - Wish Upon a Star
Simple Stories Say Cheese 3 paper - Smile, Click, Gotcha
Simple Stories Say Cheese 3 Bits & Pieces
Distress Oxide Inks
2 Crafty Star Bubbles
Crafters Workshop Template
Tim Holtz Layering Stencil
Photobucket