HOMEABOUT USSHOP HERECROPDATESCURRENT CHALLENGESTIPS&TUTORIALS

Monday, December 31, 2018

Memories with Mintays Secret Place by Fiona Johnstone

Hello everyone

Happy New Years Eve! Hope you have all had a wonderful 2018 and looking forward to all the fresh possibilities a new year brings. 

To finish off the year, I thought I would share a page that is a little different to my normal style but I really adored these Mintay papers, they are so pretty - and I am a sucker for any pink and green combo!

Memories


I have fussy cut the door paper from Paper 01, I have cut the doors and then stuck them down to the reverse side to create the open door affect.  I've used the woodgrain paper as a base and added some torn paper strips across my layout behind the door. 

I've used a few pieces of 2Crafty Chipboard on this layout. The pieces have had gesso applied, then I added some pink paint, edged them with Pinecone Ink and added some sploshes of gold spray ink. 


Lots of flowers added to this layout too, a mix of 49 & Market and Green Tara. 


Love the little wire swirls. 


and a final cluster:


Thanks for stopping by
Till next week

Fiona
x
Photobucket
Products Used:

Mintay Papers - Secret Place Paper -01
Mintay Papers - Secret Place Paper - 02
Mintay Papers - Secret Place Paper -04
49 & Market Flowers
Green Tara Fantasy Blooms White
GreenTara Flowers Pink 
2Crafty Chipboard Diamond Chunk Bits
2Crafty Chipboard Addy's Butterflies
2Crafty Chipboard Memories title
Dylusions Paint - Rose Quartz
Gesso
Heidi Swapp ColorShine Gold Lame
Pinecone Ink

Friday, December 28, 2018

Presents using Bella Blvd Merry Christmas by Kerryn Fry

Hi Everyone!
Today I am sharing another Christmas page using 
Bella Blvd Merry Christmas.
After finally getting into the festive spirit at home over the past few days,
I've really enjoyed some creative time using this gorgeous collection.
The photos were taken last Christmas,
it gets harder every year, but I can still surprise Mr 14! 
 

I have started by decorating the white cardstock background with 
a Tim Holtz Layering Stencil and some gold paint.
I have then layered different patterned papers under the photos,
mixing the plain papers and patterned papers to lift the darker photos.


I have hand-cut baubles, mistletoe and presents from the patterned papers
and used them in clusters around the page.
They have been lifted up with foam tape for extra dimension.


The 2 Crafty Xmas Polaroid has been painted red,
the word has been highlighted with Diamond Stickles, can't bet a little sparkle.
I have used patterned paper to back the frame to create a journal spot.
Using a black gel pen, I have outlined the journal spot
with faux sticthing.


I have used the 2 Crafty Holly Flourish to frame the photos in opposite corners.
They were base coated with gesso first and then painted using red, green and gold.
Once dry, I have highlighted the berries with more Diamond Stickles. 


The Flourish has also been popped up with foam tape.


That wraps up my page for today,
I hope you have enjoyed the process.
Thank you for visiting the blog, enjoy your weekend 
and hope you all have a fabulous New Years.
Please pop back to the blog on Monday
for Fiona's next project.

Products Used:
Bazzil White Cardstock
Bella Blvd Merry Christmas - Borders Gold Foil
Bella Blvd Merry Christmas - Daily Details Gold Foil
Bella Blvd Merry Christmas - Giving Gold Foil
Bella Blvd Merry Christmas - Light it Up
Bella Blvd Merry Christmas - Sing It Loud
Bella Blvd Merry Christmas - Tree Parade Gold Foil
2 Crafty Holly Flourish
2 Crafty Xmas Polaroid Frames
Tim Holtz Layering Stencil
Photobucket

Wednesday, December 26, 2018

Wonderful little memories, by Amanda Hartmann

Hi all!
 
I hope you had a wonderful Christmas and are now enjoying some peaceful scrapping time for Boxing Day!
 
For today's page I was excited to finally use the first of my Cocoa Vanilla Studio, Midnight collection. I decided the pinks and blues were a great match to some sunset at the beach photos.
 
Here is the page.
 
 
I think I could used the dark navy blue paper "Inky Depths" 1000 times a year - so awesome - and I used it as my background and to mount the panel of 3 photos.
 
Next I layered the pretty pink "Moonlight" paper. I also used the script reverse side for some backing and panels.
 
Let's look at some close ups.
 
 
I love these papers and colours together!
 
For the title in the bottom left of the photos, I used some small word stickers from the Midnight Accessory Stickers. I layered these on some florals, leaves and hearts from the Midnight Die Cut Ephemera pack.
I repeated more of the same in the right bottom corner too.

And in the top corner - more of those beautiful flowers and leaves! You can see here that I also used a photo frame from the  Midnight Die Cut Ephemera pack around one of the photos.

I also made some splatters with some white ink spray. 

 Thanks for looking today... come back next for my first page of the new year!
Thank you for all your support and likes this year. It is wonderful to be able to create for All About Scrapbooks with all this fabulous products.
Amanda


Products used:
 
Cocoa Vanilla - Midnight Paper - Inky Depths
Cocoa Vanilla - Midnight Paper - Moonlight
Cocoa Vanilla - Midnight Accessory Stickers
Cocoa Vanilla - Midnight Die Cut Ephemera


Photobucket

Monday, December 24, 2018

Joy with Pinkfresh Studio Holiday Vibes by Fiona Johnstone

Hello

Happy Christmas Eve everyone! Hope you are enjoying the festivities. 

I am back with a final Christmas layout, created with the Pink Fresh Holiday Vibes Collection. 
Joy

I chose to focus on the blues and pinks in the collection for this layout with a little bit of red to match my dress. 

I worked a bit backwards with this layout and added the large snowflake afterwards as the layout needed something extra. I painted my Snowflake Diecut in a pale pink - I mixed the paints to create a lighter colour similar to the pink in the patterned papers and tucked it under my long paper layers. 

 I love this little cluster of the cute houses in the ephemera pack, adding a hint of gold and finishing the cluster with an epoxy sticker.  My chipboard snowflakes I painted in gold paint then once dry dabbed on some white paint to create a softer effect on the gold 
 
Thanks for stopping by & 
Have a Merry Christmas 

Fiona
xx
Photobucket
Pinkfresh Holiday Vibes Paper - Seasons Greetings
Pinkfresh Holiday Vibes Paper - Let it Snow
Pinkfresh Holiday Vibes Paper - Merry Christmas
Pinkfresh Holiday Vibes Paper - Magical Forest
Pinkfresh Holiday Vibes Ephemera
Pinkfresh Holiday Vibes Epoxy Stickers
Kaisercraft Specialty Paper - Fancy Snowflake
2Crafty Chipboard Funky Snowflakes
Dylusions Paint - Peony Blush
Dylusions Paint - White Linen
Gold Paint

Friday, December 21, 2018

Sweet Cheeks using Pinkfresh Studio Escape the Ordinary by Kerryn Fry

Hi Everyone!
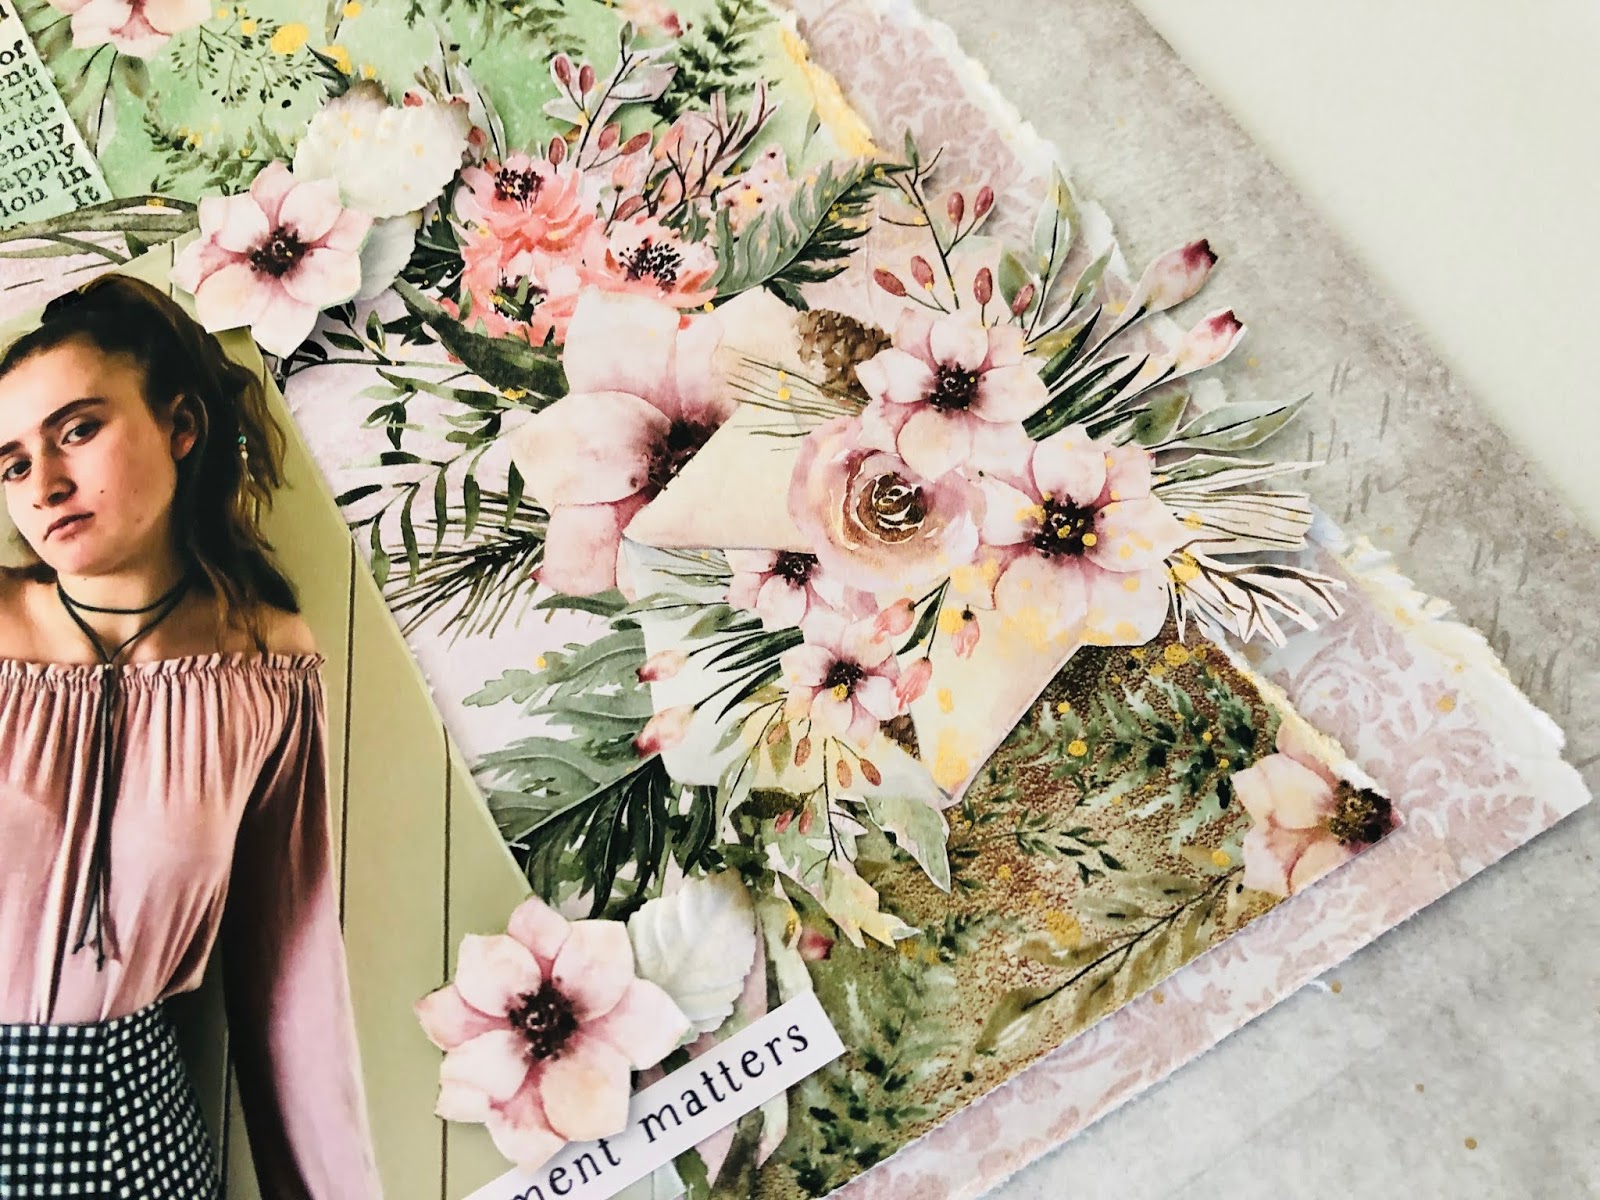
The page I am sharing today has been created with the collection
Pinkfresh Escape the Ordinary.
I have been sitting on this collection for a while now, 
so glad that I finally decided to crack it open.
The photos are of Mr 'then 5' and his Dad being lunatics at the park.
That cute face just makes me smile!

I have started the page with black cardstock,
then added a large piece of patterned paper for the main background,
leaving a small frame of the black cardstock around the edges.
The patterned paper was the perfect colour for the photos
and also a great mixed media finish to it.


I have hand cut some pieces from other patterned papers
and used lots of pieces from the embellishment pack and stickers.
I've used foam tape to create layers and depth in the clusters.
The 2 Crafty Hand Drawn Stars have been covered with gold ink.


I have doodled a circle with a black gel pen around the photo
and used it as a journal space.
The photos have been given a black cardstock base
to pop of the page and then lifted with foam tape.
The chipboard elements and stars from the collection were a great addition to the page.


The 2 Crafty title Sweet Cheeks has been covered with Charcoal ink
and then I have highlighted the edges with a gold pen.


That wraps up my page for this week.
Thank you for visiting today.
Now by this time next week, Christmas will be done and dusted,
I hope you have a fabulous time with family and friends.
Please join us again on Monday for Fiona's next page.

Products Used:
Pinkfresh Studio Escape The Ordinary Collection

Photobucket

Wednesday, December 19, 2018

AJ, by Amanda Hartmann

Hello AAS fans,
 
Today I am sharing a pretty page - again of my oldest daughter - growing up way too fast!
 I love the pink tones of the shirt she is wearing here and it was the perfect colour
 match to the Mintay Secret Place collection.


I started with a neutral base paper - Mintay - Secret Place Paper - 05 . Then I layered more papers in the range. I added ripped and distressed edges to the papers. The pink panel is the Mintay - Secret Place Paper - 01  and the flowers and text panels are from the Mintay - Secret Place Paper - 04


A feature of my page is the fussy cut frame. I fussy cut the circular plus floral design from the Mintay - Secret Place Paper - 02. I placed the photo directly onto this.

Let's look at some more close ups.


I added 3 simple word stickers, taken from the Cocoa Vanilla Studio Sticker Accessory sheet. and my daughters initials in some gold thickers from my stash.


I also fussy cut some extra flowers from the Mintay - Secret Place Paper - 04 and layered these on the page with some leaves from the Green Tara - Leaf Sprays - White.

I finished the page with a subtle, splattering of gold. I used Colour Blast Shimmer Spray in Bling with a paint brush to achieve this.

That's it from me today! Make sure you head in store to see this divine range of papers!
Thanks for looking,
Amanda 

Products used:
Mintay - Secret Place Paper - 02 (fussy cut)
Mintay - Secret Place Paper - 01 (pink panel)
Mintay - Secret Place Paper - 04 (panels and fussy cut flowers)
Cocoa Vanilla - Midnight Accessory Stickers
Green Tara - Leaf Sprays - White
Colour Blast - Colour Shimmer Spray - Bling
 
Photobucket

Monday, December 17, 2018

Trimming the Tree with Pinkfresh Studios Holiday Vibes by Fiona Johnstone

Hello everyone

Back with another share created with the stunning Holiday Vibes collection by Pinkfresh Studios:

Trimming the Tree
For this layout I have used the tradition Reds and Greens from the papers, adding some texture to the page by tearing my layers. Next I have added some extra layers by fussy cutting the word strips from the Very Merry paper and tucking these under my photos to create a frame. 


I've used the ephemera and the epoxy stickers once again to embellish my layout and some gold & enamel dots stars from an old Fancy Pants collection. 
A cute little cluster to balance the bottom of my layout and my title with some gold thickers and Pinkfresh puffy stickers. 
Thanks for stopping by
Till next week

Fiona
x
Photobucket
Products Used:
Pinkfresh Studios Holiday Vibes paper - Christmas Cheer
Pinkfresh Studios Holiday Vibes paper - Magical Forest
Pinkfresh Studios Holiday Vibes paper - Very Merry
Pinkfresh Studios Holiday Vibes Ephemera
Pinkfresh Studios Holiday Vibes Epoxy Stickers
Fancy Pants Enamel Shapes
American Crafts Thickers 
Pinkfresh Studio Puffy Stickers
White Cardstock

Friday, December 14, 2018

Winter Wonderland using Echo Park Paper Celebrate Winter by Kerryn Fry

Good morning everyone!
Today I am sharing another page using the gorgeous collection,
Echo Park Paper Celebrate Winter.
This time, I have been inspired by Amanda's double page
that she did a few weeks ago.
My page was started a little while ago,
but I finally got it finished last weekend.
And yes, it's another snow page!
Mr 14 and a half, tobogganing like a crazy person,
even making his own ramp.
The page was started with a Kraft cardstock base.
In the top third of the page, I have started the background effect
with a snowflake Dylusions stencil and two shades of blue in Distress Oxides.
For the next layer, I have used a 6x6 Echo Park snowflake stencil
with silver paint and then stamped some snowflakes with white ink. 
The next steps were putting down the paper layers.
Two thirds of the base is covered, 
using strips of black cardstock to define some areas.
All of the photos have been lifted with foam tape,
with one photo highlighted with a scalloped black base.
Once the paper and photos were in place,
I got very busy fussy-cutting loads of snowflakes 
and swirls from the patterned papers.
I have layered some of the snowflakes
and added Kaisercraft gems to the centres.
The 12x12 Element Sticker Sheet made embellishing the page easy.
Some of the stickers have been mounted a black cardstock to 
give them a pop on the page and then lifted with foam tape.
I have used a die to cut some clouds out of patterned paper.
The snowman and tree are from the sticker sheet

The 2 Crafty Snowflakes have been given a coat of white paint
and then covered with 3 different colours of Stickles.
I've finished them off with Kaisercraft gems.


The custom made 2 Crafty title Winter Wonderland was given the same treatment,
base coat of white paint and then layered with Stickles.


I have hand-cut some mittens from the Cosy Mittens paper
to add another layer to the left hand side of the page.
The mittens have been lifted with foam tape.


And that's my page for this week.
At least I have put a small dent in our holiday photos.
Thanks for visiting the blog today,
have a wonderful weekend!
Hope you will join us again on Monday with Fiona's next page.


Products used:
2 Crafty title Winter Wonderland


Photobucket