HOMEABOUT USSHOP HERECROPDATESCURRENT CHALLENGESTIPS&TUTORIALS

Monday, February 20, 2023

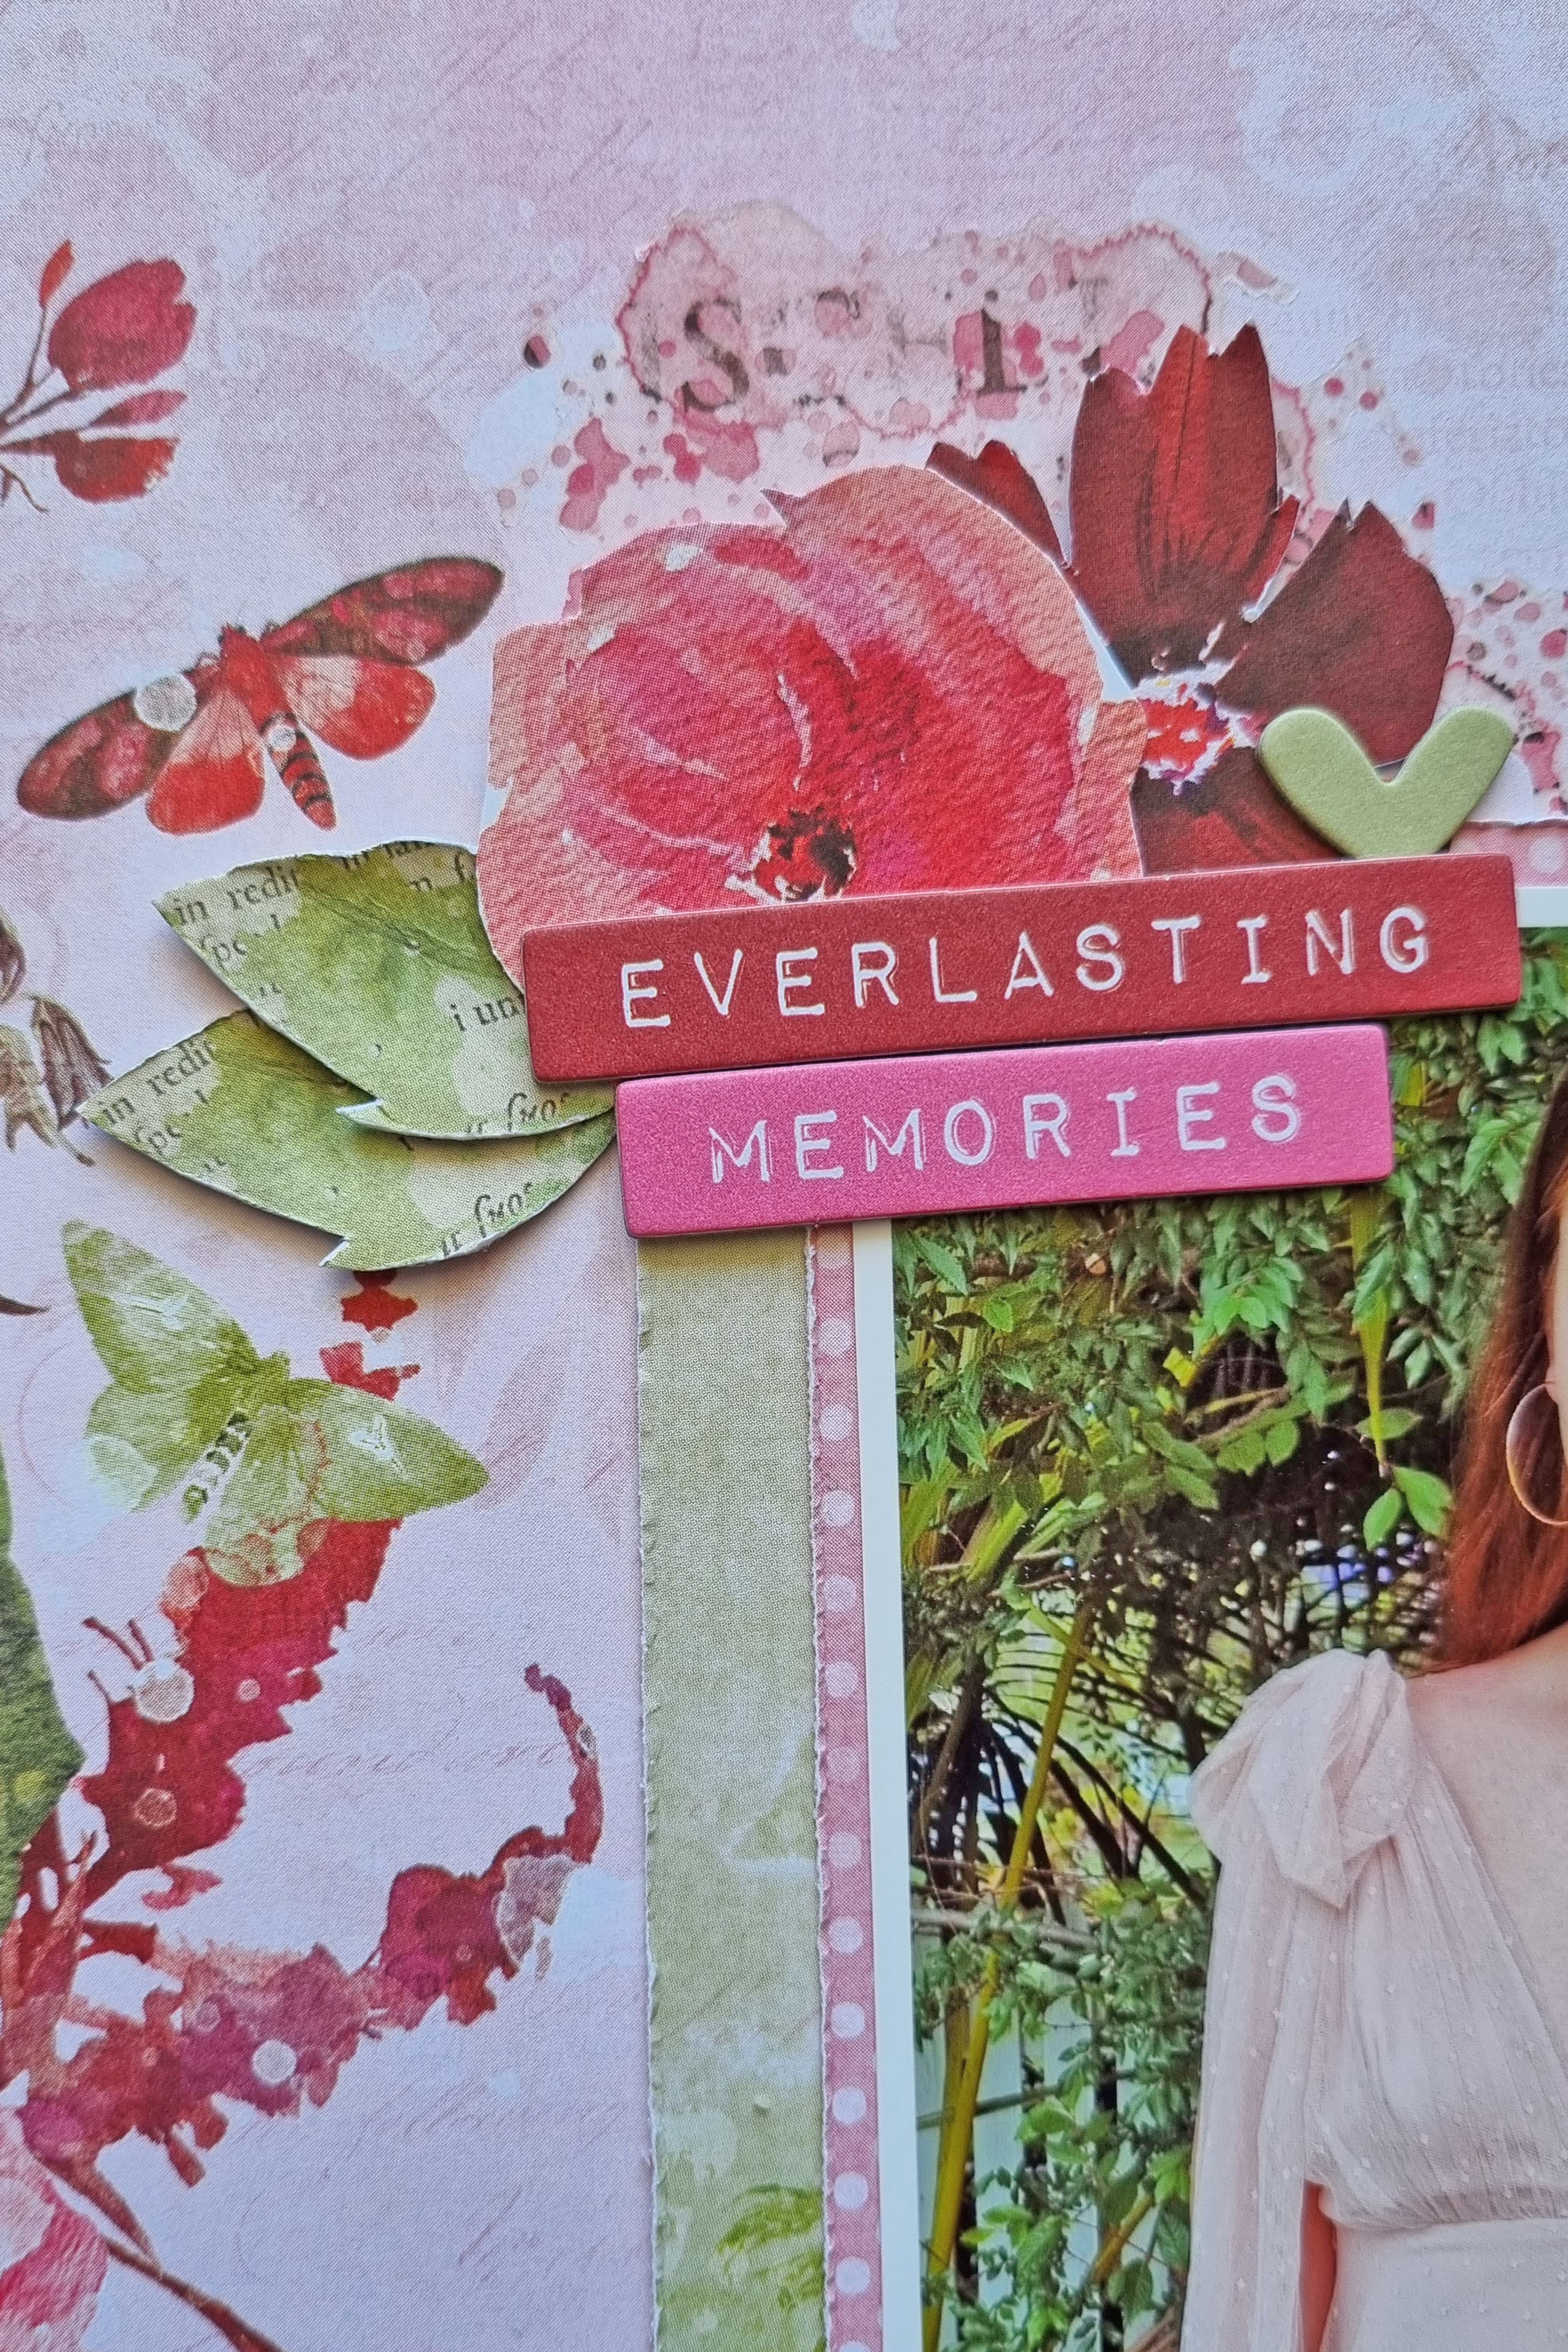
Lovely with 49 and Market Colour Swatch Blossom and ArtOptions Rouge by Fiona Johnstone

Hello everyone

Back with another layout created with the beautiful 49 and Market, using a mix of  papers and embellishments from the Colour Swatch Blossom and the Artoptions Rouge collections.

Lovely


For this layout I have again chosen a pretty patterned background paper and teamed it up with some rub-ons from the Blossom collection. I have then layered two plainer papers under my photo, adding some tearing for texture. I've then added a couple of strips of the green paper under my base paper with some added tears to break up the pink. 

Rub-ons around the photo layers:


and cute butterflies from an older 49 and market collection teamed up with cute 49 and Market flowers and assorted chipboard hearts. 


adding some matching flowers and butterflies to the bottom right of my photo with some cute words and my title Lovely - both of which are from the Rouge collection chipboard word set. I added some rub-ons underneath my title for added definition. 


Thanks for visiting
See you next week
Fiona
x


Photobucket

Products used:

49 and Market Colour Swatch Blossom - Collection pack 12x12
49 and Market Colour Swatch Blossom -Rub Ons 6x8
49 and Market Art Options Rouge - Collection pack 12x12
49 and Market Art Options Rouge - Chipboard Word Set
49 and Market Florets - Celery 

Monday, February 13, 2023

Sweet with 49&Market Art Options Rouge by Fiona Johnstone

Hello everyone

This week I am creating with the stunning 49&Market collections - ArtOptions Rouge
and Colour Swatch Blossom:

Sweet 


I love how perfect the background papers are for creating beautiful pages. For this layout I have added some paper strips to the edge of the background paper which was the plain side, and added some plain papers to surround my photos. 

Next I have used the rub-ons from the Colour Swatch Blossom collection to the right hand side of my photo:


I've fussy cut some leaves and flowers from the bonus fussy cut elements sheet. Under this I've used another rub on, then I've added some chipboard mini words and small heart to the flower cluster from the Rouge Chipboard Word Set. 


I've used one of the main words from the Chipboard Word set as my main title, again with some rub ons underneath for added colour. I've topped the edge with some cute hearts and finished with a little word rub-on and butterfly. 

Thanks for visiting
See you next week
Fiona
x


Products Used:

49&Market ARToptions Rouge Collection Pack 12x12
49&Market ARToptions Rouge Chipboard Word Set
49&Market Colour Swatch - Blossom Rub-ons 6x8

Friday, February 10, 2023

Life Documented using Simple Stories The Simple Life by Kerryn Fry

Hi everyone!
Today I am sharing my second page created with the 
beautiful collection, Simple Stories The Simple Life.
Love the subtle colour palette in these papers.

The photo is a rare selfie I took on a 
weekend away while researching my ancestry.
This town has a great significance for me
as the name is the same as my daughter's.


The background is a clean 12x12
I've only one main piece of patterned paper,
love the stripes from Happy Together paper.
Under the photo I have layered is two 
4x6 Element mats, slightly angled 
to show each pattern, but hiding any words.
I have added a stitched border to each 
layer with a gold pen and the two tags 
are from the Journal Bits Die Cuts.


In the top right corner of the page I have 
used the barcode strip of Happy Together
and added a journal bit with a hand cut flower
from the Beautiful Chaos paper.
Both the journal bit and flower have been 
lifted with foam tape for dimension.
I have also added a highlight to the 
centre of the flower with a gold pen.


On the right side of the photo I have used the 
'Today' journal card from the Journal Elements paper.
I have raised the card with foam tape and
embellished it with hand cut butterflies 
from Our Story paper and one of the 
hand cut 'Houses' from a 4x6 Journal card.


The left side of the photo is embellished with
layers of pieces from the Journal Bits Die Cuts.
I have added 3 different sizes of jounaling pieces,
raising two of the with foam tape.
I added highlight details using the gold pen
and added more hand cut butterflies.


Just under the journal elements I have add more 
hand cut flowers from the Beautiful Chaos paper,
raising them with foam tape and adding gold details.


Across the base of the page I have made use 
of the barcode strips from Our Story and Beautiful Chaos 
to create the base for this smaller embellishment cluster.

I've then added the remaining hand cut houses
 from the 4x6 Elements, a journal bit for the date 
and another hand cut flower all lifted with foam tape.
I've used the gold pen to highlight each house
and the centre of the flower.


At the base of the photo I have added 
two more of the barcode strips, punched with a scallop edge,
from Beautiful Chaos and the 4x6 Elements papers.

The 2 Crafty title Life Documented has been covered 
with black ink and added to the page with some glue.


Thank you for visiting our blog today,
I hope you have enjoyed the process of creating this page.
Have a happy, crafty weekend and
please join us again on Monday.


Products Used:


Photobucket

Monday, February 6, 2023

Enjoy the Little Things with Pinkfresh Studio Delightful by Fiona Johnstone

Hello everyone

This week I am creating with the  Pinkfresh Studio collection Delightful. 

Enjoy the little things


I've used the pinks and yellows in this collection for this layout as they match my great nieces top. I've hand stitched around my white cardstock with pink embroidery thread, trimmed down then mounted onto the Go Bravely paper, then I have layered the Be a Rainbow paper on top. 


I've mounted my photo with some more of the Go Bravely paper and then added a doily before adding a mix of pink and yellow embellishments from both the ephemera and vellum embellishment packs. 


I've also added some hot pink and white cherry blossoms to the layout before finishing with a title using and ephemera word and some mini stickers. 


Thanks for stopping by

Fiona
x


Photobucket

Pinkfresh Studio Delightful paper -  Go Bravely
Pinkfresh Studio Delightful paper - Be a Rainbow
Pinkfresh Studio Delightful Ephemera
Pinkfresh Studio Delightful Vellum embellishments
Green Tara Cherry Blossoms White
Green Tara Cherry Blossom Rose
Kaisercraft Cardstock Snow
Doily
Embroidery thread

Friday, February 3, 2023

Love using Simple Stories The Simple Life by Kerryn Fry

Hey everyone!
My layout today has been created with
the collection, Simple Stories The Simple Life.
The beautiful photo is my Father and his youngest 
Great-Grand daughter at her first birthday party.


The base of the page is a 
I have layered the photo onto the reverse 
The two main paper layers under the
photo are Happy Together and Our Story.
I've used a gold pen to outline 
the darker paper Our Story.


To add some interest on the right side of the photo,
I have hand cut the pattern of the paper and then 
 stuck down the reverse side of the pattern.
In the top right corner of the photo I have added the 
'heart this' ephemera piece from the Journal Bits Die Cuts pack.


In the bottom right corner of the photo are some
more ephemera pieces from the Die Cut pack.
There are two floral pieces and the quote
all lifted with foam tape.
The leaves have been hand cut from a 
journal card on the Journal Elements paper
and the butterflies have been cut from Our Story.


To the left of the photo I have added layered three
journal cards from the Journal Elements paper
The larger 'Family' card is first, with the 'Memories' 
card added to the left side with foam tape 
and the date card added at the bottom.
The floral pieces have been highlighted with gold pen.


At the top of the layered journal cards
I have added another hand cut butterfly
and two more pieces from the Die Cuts pack.


The title of the page is the to the left of the photo 
with Forest Moss Distress Paint and backed 
with the reverse side of the 4x6 Elements paper.
I have highlighted each letter with
a gold pen to pop on the page.

The finishing touch to the page is the
splashes of the Tsukineko All Purpose
Gold Ink to tie in all of the gold touches.


Thank you for dropping by today,
I hope you have been inspired by the page.
Have a great weekend and 
join us again on Monday.
Happy Crafting!

Products used:


Monday, January 30, 2023

Life's Good with Pinkfresh Simply the Best by Fiona Johnstone

Hello everyone

Another share with the awesome Pinkfresh Simply the Best collection. 

Life's Good


I've used distress oxide ink in Rustic Wilderness watered down and using the plastic bag technique to apply to my background. Once dry I have used a Vicki Boutin stencil and more distress oxide ink to stamp the background. 


Next I used pinecone ink to lightly ink the 2Crafty Chipboard Brick Panel which I have cut into sections. I layered this over my distress background. 

I've then layered up some pattern papers to match my photos, and fussy cut some elements from the patterned papers. Finally I added some co-ordinating embellishments from the collection - chipboard flairs and cardstock stickers. 


I finished the page with 2Craftys Life's Good title which I have inked in Distress Oxide Chipped Sapphire and Tsukineko Ink in Atlantic. 

Thanks for visiting
See you next week
Fiona
x


Products Used:
Pinkfresh Studio Simply the Best - Worth the Hype
Pinkfresh Studio Simply the Best - Iconic
Pinkfresh Studio Simply the Best - Happy Times
Pinkfresh Studio Simply the Best - Mood Booster
Pinkfresh Studio Simply the Best - Chipboard Flair
Pinkfresh Studio Simply the Best - Cardstock Stickers
2Crafty Chipboard Brick Panel
2Crafty Chipboard Title - Life's Good
Vicki Boutin Foundations Paper
Distress Oxide Ink - Rustic Wilderness
Distress Oxide Ink - Chipped Sapphire

Friday, January 27, 2023

Winter Wonderland using Simple Stories Simple Vintage Winter Woods by Kerryn Fry

Hello everyone!
The layout I'm sharing with you today 
has been created with the collection
Simple Stories Simple Vintage Winter Woods.
The photos of Mr H were taken in 2018
on our last trip to Lake Mountain in Victoria.


The base of the page is Bazzill Kraft Cardstock.
The background effect has been created in two stages. 
The first layer is Distress Oxide Inks 
Evergreen Bough and Salvaged Patina.

I've combined both colours on a plastic scrap,
sprayed it with water and mixed them together.
With a round paint brush I've added 
splashes to the outer area of the cardstock.

Once dry, I've used the Vicki Boutin Evergreen & Holly
Snowflake stencil and white paint to add
some random flakes to the background.


At the top of the photos I've added the smaller 
bird embellishment from the Page Pieces pack.
The embellishment has been lifted
with foam tape for extra dimension.


The 'Day to Remember' piece on the 
left side of the photos has been hand cut 
from 4x4 Elements paper. I've added it to 
a journal card cut from the Journaling Elements paper.


covered with white gesso and then
Salvage Patina Distress Paint.
Once it was dry, I've added
to some of the branches.


On the right side of the photos, I've used
more embellishments from the Page Pieces.
The 'Snow' card has been tucked under
the photo layer with the top edge lifted
with foam tape. The larger bird has been added
with foam tape and then a little Glitter
Glue to the star on the card.


At the base of the snow card I've added
and another hand cut embellishment.
The 'Love this most' embellishment was
hand cut from 4x6 Elements paper.


The title for the layout Winter Wonderland
is from the Page Pieces pack.
I've added it to the page with foam squares
and the decorated it with Ranger Stickles Glitter Glue.


Thank you for dropping by the Blog today.
I hope my page has inspired you to create
or at least cooled you down a little.
Have a great weekend and
join us again on Monday.

Products Used:
Bazzill Kraft Cardstock
Simple Stories Simple Vintage Winter Woods
Simple Stories Simple Page Pieces Winter Woods
2 Crafty Winter Twig Branches
Distress Oxide Inks
Distress Paints
Ranger Stickles Glitter Glue
White paint


Monday, January 23, 2023

Fav Photo with Vicki Boutin Printshop by Fiona Johnstone

Hello everyone

Continuing this month with some more Print Shop layouts, such a diverse range!


I've used a Vicki Boutin stencil as a stamp for this background using Distress Oxide in Saltwater Taffy. I've stamped the ink on to the stencil, sprayed a little water then stamped the pattern onto my kraft cardstockl


 Next I have fussy cut multiple hearts from the Cross My Heart patterned paper and I have added some hand stitching to each heart. 


I've added some paper layers to my photo and adhered the hearts to either side of my photo. Next I have used the embellishments from the ephemera and sticker sheets to add extra details to my page.


Torn paper strips top and bottom of my page and the advertising strip off one of the papers used before adding my title - Vicki Boutin stickers from an earlier collection.

Thanks for visiting
See you next week
Fiona
x


Products Used:

Vicki Boutin Printshop Ephemera Journaling
Vicki Boutin Printshop Cardstock Stickers