HOMEABOUT USSHOP HERECROPDATESCURRENT CHALLENGESTIPS&TUTORIALS

Monday, August 21, 2017

Radiator Springs with Cartopia by Fiona Johnstone

Hello everyone

Happy Monday. Today I am back with one last Cars inspired layout, using Carta Bella's Cartopia collection again. 

 Radiator Springs
 
 
Now I love this number plate paper, so wanted it to feature prominently as it ties in with the background of my photo and really pops with the black cardstock. But first I needed something to help the background paper along. 


I've used a stencil and some Colour Blast paste in Steel to create the cogs on the cardstock. I love how this ties in with the colours in the photos background. 
 
 
My embellishments I have kept simple, just a couple of stickers and some 2Crafty chipboard. The cog I have inked in a mix of black and grey, where the arrows are simply inked in black so they stand out on the busy paper.
 
 
Thanks for stopping by
Fiona
x

Photobucket

Products Used:

Carta Bella Cartopia Paper - License Plate
Carta Bella Cartopia Paper - 4x6 Journaling Cards
Carta Bella Cartopia Paper -  Multi Journaling Cards
Carta Bella Cartopia Element Sticker Sheet
Carta Bella Cartopia Ephemera Die Cut Shapes
2Crafty Chipboard Chevron Bits
2Crafty Chipboard Gears
Kaisercraft 6x6 Stencil
Black Ink
Colour Blast Paste in Steel 
Cardstock

Friday, August 18, 2017

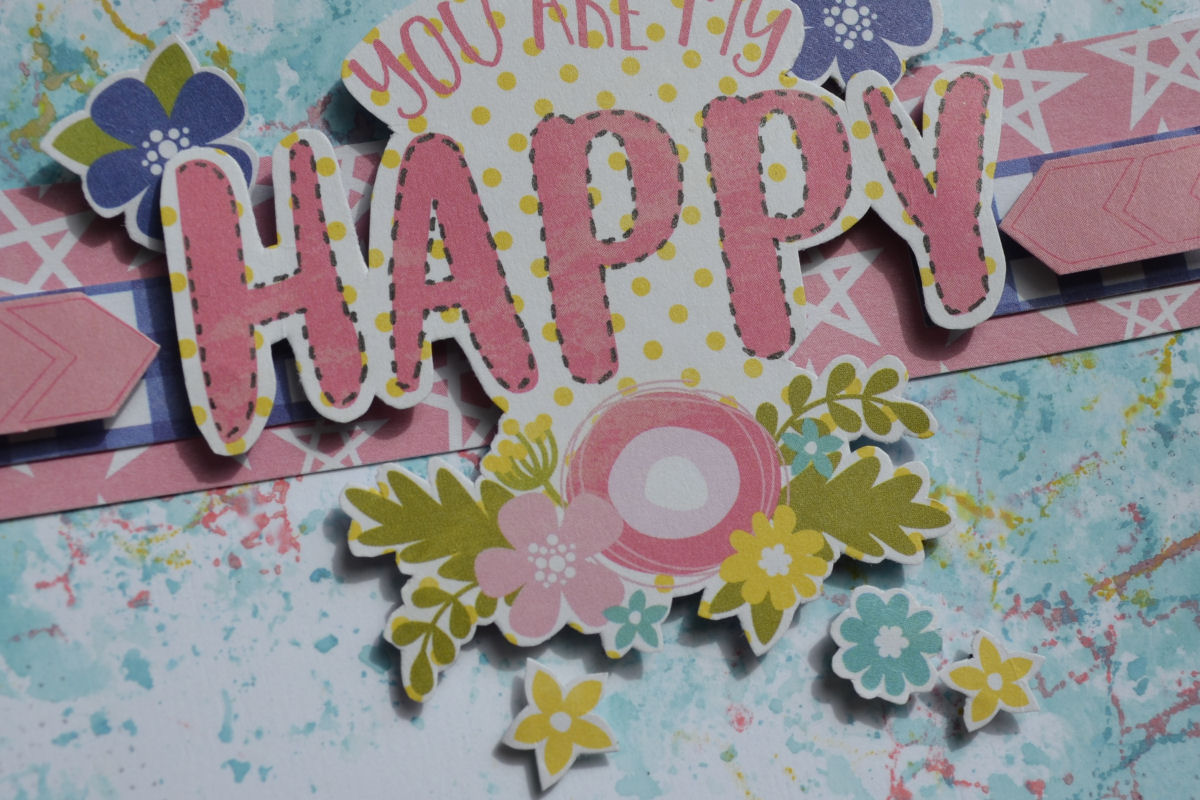
You are my Happy using Jillibean Soup Healthy Hello by Kerryn Fry

Hi there to everyone!
Another Friday here again already.
For this week's project I have gone back to the beautiful 
Jillibean Soup collection, Healthy Hello.
My page features my big sis and one of her grand daughters.

I had loads of fun with the background for this page.
I started with the white cardstock and Broken China Distress Oxide Ink.
After planning the layout of my photo and papers using the ink, water and some plastic packaging, 
I have applied it to the cardstock to frame the features of my design.
After the first layer of ink had dried, I added the Worn Lipstick and Fossilized Amber
Distress Oxide with the Kaisercraft Marble Stamp.
The final layer added is blank ink and the Tiny Dot stamp.


The title for my page has been fussy cut from the journaling card side of Bite Size Bits. 
It forms part of the top cluster, with a few flowers cut from Jar of Jambo paper 
and some arrows from Hint of Hello
I have added some faux stitching around part of the title to let the word pop.


There are a heap of fussy cut flowers from both Hint of Hello and Jar of Jambo 
patterned papers to form part of the larger cluster.
I have added dimension with foam tape and some fussy cut words from Herbed Hola
The butterfly is from a Kaisercraft Clear Sticker Sheet


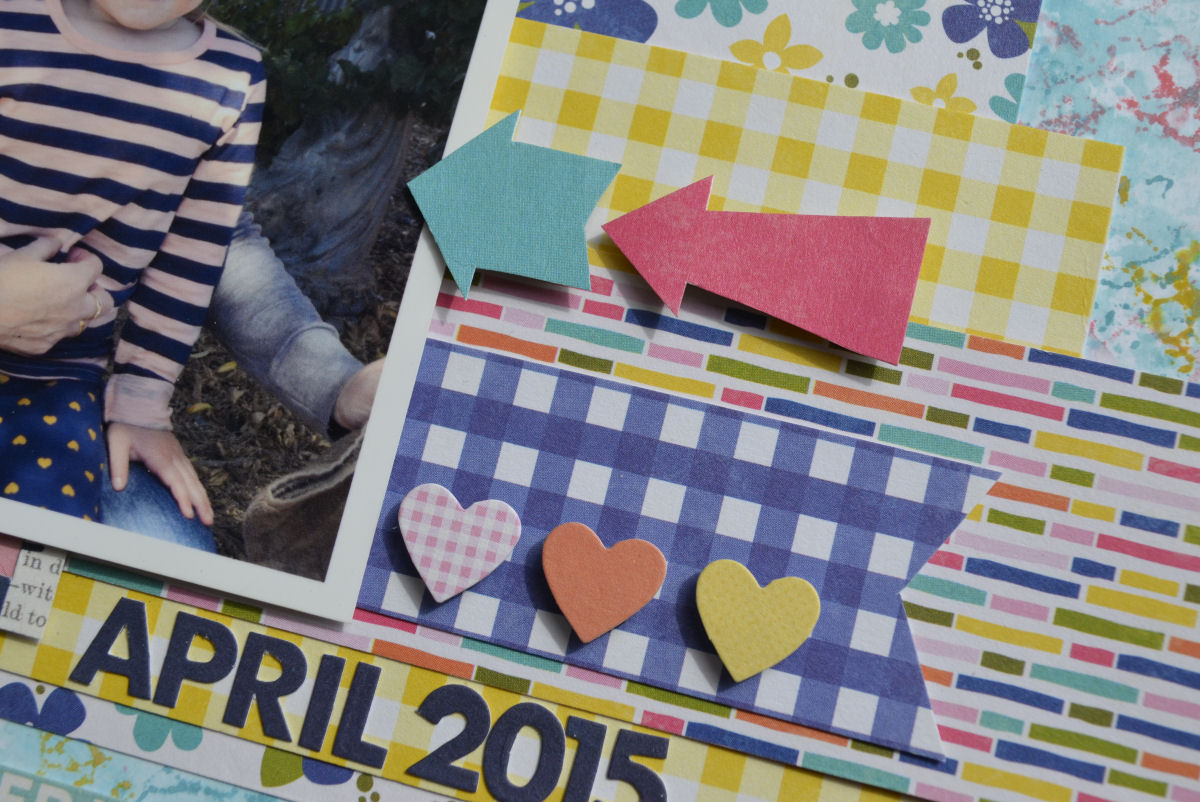
The arrows have been hand cut from Aged Aloha and the little hearts 
Plenty more foam tape added.


That's all for today.
Thank you for visiting the blog today.
I hope you have a happy, crafty weekend and remember Fiona will be back on 
Monday with another project to share with you.

Products Used:


Photobucket

Wednesday, August 16, 2017

"Cute" by Amanda H.

Hello again.... welcome to my Wednesday share!
 
Today I have.... MORE PINK! With 3 girls and a baby niece, some days it is hard to avoid pink. But as long as I am not wearing it, I do love pink. Luckily there are so many papers at All About Scrapbooks, I can always get more pink! I was excited this month, when I noticed my new papers from Pebbles "Girl Squad" collection, coordinated so well with my Cocoa Vanilla Studio "Hello Lovely" collection.
 
Today I am sharing my page that sees these two collections teaming up.
 

I built up the layers of the different papers, matching pinks, with black and white and the soft blue. I love the little "hello gorgeous" which was cut from the Hello Friend paper in the Pebbles range.

I finished the page off with some stickers and flowers, keeping it simple after all the detail in the papers!
I have used a variety of stickers from a couple of different packets... the full list in the product list below. I kept with pinks, but added in the highlights of black also.


My favourite Bella Blvd Puffy Hearts are used, as well as Kaisercraft mini paper blooms, both in black.


Products used:
Papers:

Embellishments:

Thanks for looking today!

Amanda


Photobucket

Monday, August 14, 2017

Enjoy Today with Fancy Pants Dream Big by Fiona Johnstone

Hello everyone

This week I am playing with Fancy Pants Dream Big collection to scrap 
another holiday layout. 

Enjoy Today


Don't you just LOVE this gorgeous background paper?
 I loved it the minute I saw it and figured it was perfect for a car themed layout!

I've used co-ordinating papers from the collection, which also tie in with my photo colours. 


I've then used Carta Bella Cartopia Embellishments to add those extra car details before finishing off my page with a 2Crafty chipboard title - Enjoy Today! Don't you just love the police car sticking out - it reminded me of part of the cars ride. 


Thanks for stopping by
Fiona
x

Friday, August 11, 2017

Just (heart) this kid using Simple Stories Cabin Fever by Kerryn Fry

Hi there everyone!

For my project this week I have gone back to the Simple Stories Collection 'Cabin Fever'.
I love the rich colours and fabulous patterns in this range, perfect for any outdoor photos.
The photo is Mr 13 and his cousin investigating the Botanic Gardens.


The Kraft Cardstock has had it's usual treatment.
Three Distress Ink colours and three different stencils to add layers to the background.
I take colours from the patterned papers and try to use stencil patterns that suit the page.
The embellishment cluster has been created with stickers from the sticker pack,
some have been backed with black cardstock and lifted with foam tape.


The 2 Crafty title 'I Just {heart} this kid' has been coloured with brown ink 
and Aged Mahogany Distress Paint.
The {heart} has been finished with Glossy Accent.
The words of the title has been swiped with gold Metallic Rub to highlight the edges.


The 2 Crafty Circle Dot Frame has been painted with Aged Mahogany Distress Paint, stamped with Kaisercraft Texture Stamp Tiny Dots and gold ink, the final layer is Glossy Accents.
The tiny foot prints have been fussy cut from the patterned paper Off The Grid.


2 Crafty Grass Clumps have been randomly covered with two colours of Distress Paint.
I have used more stickers from the Sticker Pack to build clusters around the grass 
and photo. Lots of dimension created with foam tape.


Thanks for joining me on the blog today.
Hopefully you have been inspired by the project.
Have a fabulous weekend 
and remember to check back on Monday for Fiona's next project.


Photobucket

Wednesday, August 9, 2017

"Sweet Precious Girls", by Amanda H

Hello everyone,
 
And welcome to my second page share for the July. And I have jumped back to the
 lovely collection of Pink Paislee Summer Lights for this...
 
 
When I saw the Number 2 paper in this range, I knew I had to have it! The colours.... the soft clouds and seascape, simply stunning! I used this amazing paper as the background to this page.
 
I did mount it on some White Cardstock, distressing the edges as I went.
 
I used a variety of papers from the Summer Lights 6x6 Paper Pad to stack as a mount behind the photo. Again distressing the edges, of each paper.
 
The 3 clusters on the page were created using 2Crafty Heart Clumps  chipboard.
 These were inked with Tim Holtz Distress Oxide Ink in Cracked Pistachio. I did add some Dimensional Magic to some of the hearts in the chipboard; interestingly it changed the colour of the ink. Probably not ideal, but certainly good to know the different effects you can get with your Distress Oxides!
 

In this first cluster, I created the title with a mix of Cocoa Vanilla Studio goodies: 
1. Wood Veneer word ("sweet" from Wild at Heart range), 2. A sticker ("precious" from
 Wild at Heart sticker sheet), and 3. Alphabet stickers ("girls" from Love Actually range).
 I painted the wood veneer word with white gesso, before embossing with a fine white
 embossing powder.


In this cluster, the heart clump is repeated with the Wood Veneer word ("love" from Wild at Heart range) layered on top. More hearts, and then sequins from my stash.

I did add some stickers from the CVS Make a Wish Sticker sheet and the small sticker strips run down the edge of the layout as informal journaling.

 The last cluster at the top left of the photo repeats the same heart clumps, heart stickers and sequins.

Overall I love the feel and colours in this page. A lovely way to document an awesome photo of my sweet precious girls at the beach.


Products used:

Papers:

2Crafty:

Embellishments:

Thanks for looking today!

Amanda


Monday, August 7, 2017

Flamingoes with MME Palm Beach by Fiona Johnstone

Hello everyone

This weeks layout is created using MME Palm Springs collection.
 Be quick, there is a limited amount left in the shop of this gorgeous summery range!


Flamingoes are my son's favourite bird so I had to scrap him seeing the flamingoes at Seaworld this year. Love the pinks, oranges and green tones in this collection, plus it has gorgeous pops of gold!
 I've created a background with some Dylusions Ink spray and then added some 
splashes of Heidi Swapp gold.


I've layered some papers together, with the flamingo paper featuring.
 I've used some of the embellishments from the MME Palm Beach collection 
 to embellish along with some other cute embellishments from my stash. 


I've finished with some thickers for my title, and a sub title using the MME Palm Beach stickers.


Thanks for stopping by 
Fiona
x
Photobucket
Products Used:

Amy Tangerine Gold Foam Thickers
American Crafts Alpha Thickers


Friday, August 4, 2017

Simply The Best using Kaisercraft Barber Shoppe by Kerryn Fry

Morning to All,
I'm back on this frosty Friday morning to share my first August project.
Today's page features the masculine collection Kaisercraft Barber Shoppe.
Love the muted blues, green, browns and black.
Mr 13 from his recent wedding appearance for his cousin, 
he looked so handsome.
Starting with a Kraft cardstock base, I have add some layers using a Crafters Workshop Template, a Kaisercraft Designer Template and two colours in Distress Ink. 
I've then added some random stamping using Kaisercraft Texture Stamps Marble 
and Tiny Dots, Darkroom Door stamp with black & charcoal inks. 
Some more fussy cutting of the words from the patterned paper Kaisercraft Barber Shoppe - Scissors.
I have popped some up with foam tape and placed them so they frame the photo.
 

The 2 Crafty title Simple the Best was originally covered with charcoal ink, 
but I found it a little too dark, so I swiped it with Distress Paint 
Hickory Smoke leaving the swipe marks for texture.


I have fussy cut some embellishments from the patterned papers 
and used the saying from the sticker sheet.
I am really happy with this page, makes our boy look so grown up!

Thanks for visiting the blog today.
I hope you get some crafting time over the weekend and will join us again 
on Monday when Fiona will share her next project.

Products Used:
Kraft Cardstock
Photobucket

Wednesday, August 2, 2017

Destination, by Amanda H

Hello and welcome to August!

Today I am sharing a different page, one featuring photos of my trip to Amsterdam earlier this year. Although it was for work, I still enjoyed seeing some things, like Rembrandt Square! These photos seemed perfect for the new Carta Bella Transatlantic Collection.


Using just 2 papers in the range (and a bit of creative cutting), I was able to create a few different layers and strips of papers for this page. I used some black cardstock to matte the photos and papers to break it up.
I also used 2Crafty chipboard as a feature throughout this layout! 
For the title, I used 3 words from the 2Crafty Travel Mini word set. I embossed each word in 2 different metallic effects.
Similarly, scattered throughout the layout are 2Crafty Gears also embossed with 3 different metallic embossing powders.

Running across the middle of the layout, on a paper strip, is a 2Crafty Decorative Rod, which I inked black. I cut part of the chipboard, to run under the photo.

The final touch I added to this layout, was embossing some wooden stars, taken from the Kaisercraft Lucky Dip set . I used a steel coloured embossing and then scattered the stars throughout the page.

Products used:
Papers:

2Crafty Chipboard:

Embellishments:

Embossing with Colour Blast Colour Embossing Powders in Leather, Steel and Sienna.
Thanks for looking today!
Amanda