HOMEABOUT USSHOP HERECROPDATESCURRENT CHALLENGESTIPS&TUTORIALS

Monday, September 27, 2021

Let's Get Lost with 49 & Market Vintage Artistry Hike More by Fiona Johnstone

Hello everyone

Couldn't wait to have a play with this new collection this week - 49 & Markets Vintage Artistry Hike More. I am sure we all have a few outdoorsy photos we can scrap, whether from travels or exploring our own backyards in these times!

Let's Get Lost


Oh these background papers are sooo pretty!! It was so hard to choose which ones to use but this one was just perfect for my photo taken recently along part of the coast track in the National Park. 

I've used some of the cutouts from the collection kit - firstly the frame around my photo and then the cute doily like green trim at the bottom of my photo. I've used a little paper to tuck under my photo and the top shipping tag but it's mainly die-cuts and ephemera for this one which I have used around my slightly larger than 6x4 photo to blend with the background paper. 


From the ephemera pack I have used the tags, tabs and the explore more sign, combined with the leaves and butterfly from the die-cut sheets in the pack to cluster around my photo. 

My second close up shows my second cluster - butterfly and tags from the diecut sheets, ephemera leaves and a cute 2Crafty compass. My little title "Let's Get Lost" is from the collection pack 


Thanks for stopping by
Till next week

Fiona
x


Products Used:

49&Market Vintage Artistry Hike More Collection Pack
49&Market Vintage Artistry Hike More Ephemera Pack
2Crafty Compass
Twine

Friday, September 24, 2021

Enjoy today using Pinkfresh Studio Some Days by Kerryn Fry

Hi everyone!
The page I'm sharing today has been created with
the collection, Pinkfresh Studio Some Days.
The photos of Mr H were taken in 2010
while walking along Southbank
to visit the Museum in South Brisbane.


The page started with 12x12 Bazzill Kraft Cardstock base.
I've used the reverse side of the One More Cup paper
as the main patterned paper and
outlined it with a black pen fake stitch border.

The Cardstock Stickers provide all the
embellishments for the page.
In the top right corner, I've layered some
words and journal spot with foam tape.
The small hearts finish the cluster.


The photos have been matted with Bazzill Raven Cardstock
and add to the page with foam tape to give dimension.
The yellow tab is a Cardstock Sticker


In the bottom left corner of the bottom photo
is another cluster of Cardstock Stickers.
Some have been stuck directly to the page
and others I have added with foam tape
to create different layers.

I've cut a scalloped strip of Raven Cardstock
and added it to the page vertically along the patterned papers.


The 2 Crafty View Finder has been
covered with Distress Paint.
Once dry, I have backed the View Finder


In the top right corner of the bottom photo,
I have added more Cardstock Stickers
with foam tape.


been covered with Black Soot Distress Paint.
The piece of patterned paper the title is
sitting on is the top piece from One More Cup. 


Thanks for dropping by the Blog today.
I hope you've enjoyed the steps of this page.
Have a happy, crafty weekend
and join us again on Monday.

Products used:
Bazzill Kraft Cardstock
Bazzill Raven Cardstock
Pinkfresh Studio Some Days - One More Cup
Pinkfresh Studio Some Days - Turning Circles
Pinkfresh Some Days - Friendly Daisies
Pinkfresh Some Days - Count It Down
Pinkfresh Some Days - Cardstock Stickers
2 Crafty title Enjoy Today
2 Crafty View Finder
Distress Paint


Photobucket

Monday, September 20, 2021

So Happy with Pinkfresh Studios The Best Day by Fiona Johnstone

Hello everyone

This week I have created a layout with the new Pinkfresh collection The Best Day.
Love the blues and yellows in this collection. 

So Happy


When I saw this collection, the first thing I loved was this background paper
- Love you Always - it is the perfect frame for creating your layout.
I've built up this frame with the flowers and leaves from the Floral Ephemera Pack:


I added a couple of paper layers to my photo, and then I focused on using both
ephemera packs and the accessory stickers to add detail around my photo:


My title is from the regular ephemera pack and I've made a little cluster with the floral ephemera, finishing off with a little phrase sticker from CVS. 


Thanks for stopping by
Till next week

Fiona
x


Products Used:

Pinkfresh Studios The Best Day  - Love you Always paper
Pinkfresh Studios The Best Day - Together is my Fave
Pinkfresh Studios The Best Day - So Thankful
Pinkfresh Studios The Best Day - Floral Ephemera
Pinkfresh Studios The Best Day - Ephemera
Pinkfresh Studios The Best Day Cardstock Stickers
CVS These Days Accessory Stickers

Friday, September 17, 2021

Loving these Moments with You using Photo Play Little Boys Have Big Adventures By Kerryn


Hello everyone!
Today's page has been created with
Photo Play Little Boys Have Big Adventure.
The photos are a younger Mr H having 
fun outside with some bubbles.
The colours in this collection match
beautifully with the photos.


I've used my favourite Bazzill Kraft Cardstock as my base.
I've traced some circles with a pencil from the 
Vicki Boutin Bubbles Stencil onto the Kraft Cardstock.
The circles have been filled with white gesso
and allowed to completely dry.
The circles have been coloured with
Speckled Egg Distress Oxide Ink.
Once dry, I've outlined the circles with
and added some extra spots to the background.


The same stencil has been used to trace
some larger circles on to white cardstock.
The circles have been cut out,
coloured with Distress Oxide Ink
and outlined with Stickles Glitter Glue.
These larger circles have been added 
to the page with foam tape.


The 2 Crafty Filmstrip has been
covered with Black Soot Distress Paint.
I have backed the filmstrip with 
The photos have been matted


I've hand cut the arrows from 
They have been outlined with Black Pen
and stuck down with foam tape.
I've also used the black pen
to highlight the patterned paper edges.


The journal card is from the Ephemera pack,
lifted with foam tape.
has been covered with Distress Paint
and added to the page with foam tape.
has been covered with Distress Paint.


Thanks for dropping by the Blog today.
I hope you have enjoyed the page.
Have a great weekend
and please join us again on Monday.

Products used:


Photobucket

Monday, September 13, 2021

Sweet Life with Pinkfresh Studio Happy Blooms by Fiona Johnstone

Hello everyone

Last layout with the Pinkfresh Studios Happy Blooms collection! I have really enjoyed creating with this collection, I love the colours in it so much. 

Sweet Life


I adore the purple papers in this collection and they were perfect to match Zara's favourite dress! It can be a lot in big doses so I have broken it up to use as a border for my cardstock then added some in my paper layers.

Pink and purple go together so well, so I added a masked background using a VB floral stencil and some Distress Oxide in Kitsch Flamingo, then added some splatters. 


After adding my paper layers I have hit both ephemera packs to embellish my layout - love these flowers, slightly different to the ones in the rest of the floral ephemera pack! 

I've kept with the flower aspects and added a bee from the reverse of the purple paper and a puffy butterfly from CVS.  My title is a combo of the word Life from the ephemera pack and a puffy sticker from an older Pinkfresh range. 


Thanks for stopping by
Till next week
Fiona
x

Products used:

Pinkfresh Studio Happy Blooms paper - Garden
Pinkfresh Studio Happy Blooms paper - Happy Place
Pinkfresh Studio Happy Blooms paper - Cottage
Pinkfresh Studio Happy Blooms paper - Daydream
Pinkfresh Studio Happy Blooms Floral Ephemera
Pinkfresh Studio Happy Blooms Ephemera
Cocoa Vanilla Studio These Days Accessory Stickers
Cocoa Vanilla Studio These Days Puffy Stickers
Vicki Boutin Stencil
Distress Oxide Inks - Kitsch Flamingo
Cardstock  - KC Snow


Friday, September 10, 2021

Killin' it using Photo Play Tulla & Norbet's Sweet As Honey by Kerryn Fry

Good morning everyone!
Today I am sharing a double page,
with multiple photos, created with the collection
Photo Play Tulla & Norbet's Sweet as Honey.

The colours in this range were perfect
to match these soccer photos
and the patterns on the 'B' side of the pages
worked perfectly.
This is Mr H in his element.


Left Side

Right Side


as the starting point for this double page.
The background effect has been created with
a net stencil from my stash
Wild Honey and Hickory Smoke.


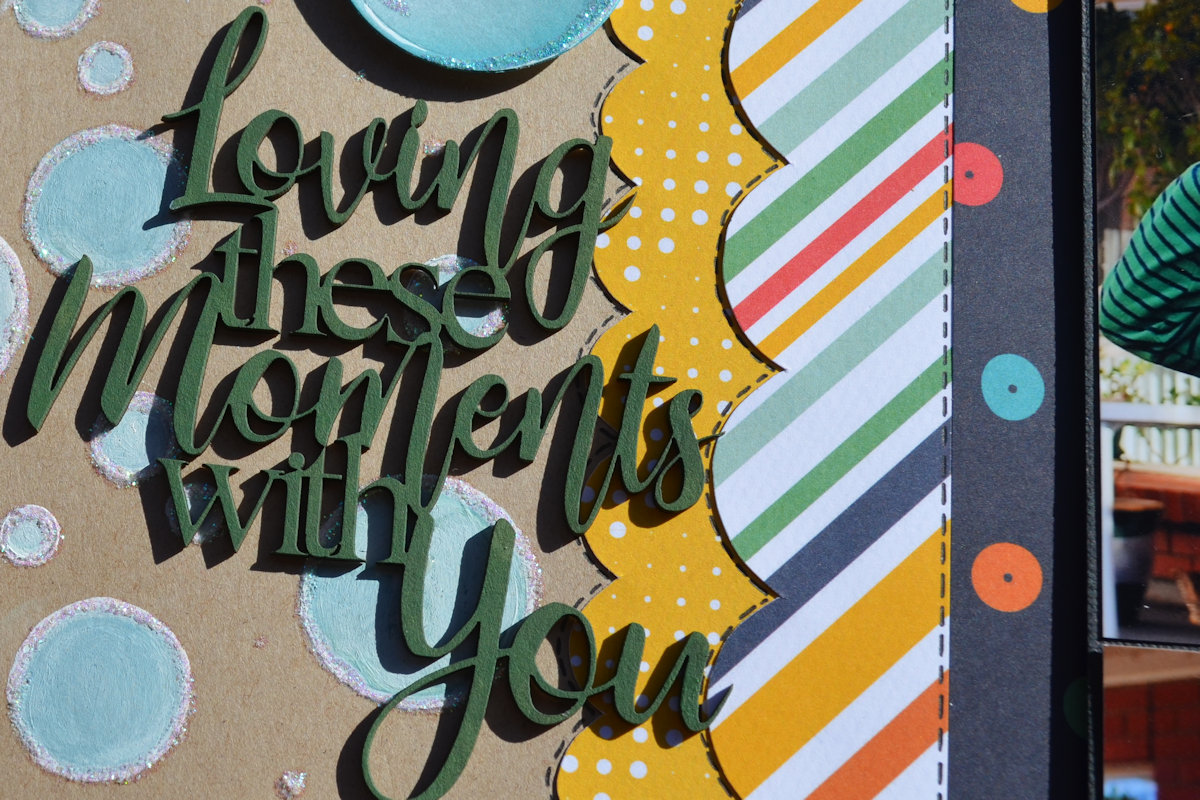
I've used stars as the main embellishment on the page.
Some hand cut transparencies and die-cut stars
in various sizes have been die-cut from the patterned papers.
Some of the patterned paper edges have been torn 
to add rough edges and expose the white core of the papers.


The large soccer ball and soccer figures 
have been die-cut from Bazzill Raven Cardstock

The Darkroom Door stamp has been stamped with 
Black ink onto the Kaisercraft Premium White
and then matted with the black cardstock.
They have been added to the page with foam tape.


The speech bubbles and words have been die cut
from cardstock and added to the page with foam tape.


The journal card has been cut from
You're a Keeper paper and the bee
discreetly hidden with a well placed sentiment.


The hand-painted soccer ball
I've covered it with white gesso
and Black Soot Distress Paint.
The 2 Crafty Chevron Bits
have also been painted with Black Soot.

The reverse side of Bee Keeper paper
was a great pattern to cut vertical strips
and cut into various size arrows.
The pieces were added to the page 
with foam tape to create some movement on the page.


covered with Black Soot Distress Paint
and added to the left side of the page,
lifting it with foam tape to add more dimension.


Thank you for visiting the blog today.
Hopefully you have been inspired by the page.

Have a great weekend and happy crafting.
Please join us here again on Monday
for Fiona's next project. 

Products used:
Bazzill Kraft Cardstock
Bazzill Raven Cardstock
Kaisercraft Premium White

Photo Play Sweet as Honey - Bee Keeper
Photo Play Sweet as Honey - Sunflowers
Photo Play Sweet as Honey - Sweet Pollen
Photo Play Sweet as Honey - Tweet Tweet
Photo Play Sweet as Honey - You're a Keeper
Photo Play Sweet as Honey - Buzzing By

2 Crafty title Killin' it
2 Crafty 6x6 Soccer sheet
2 Crafty Chevron Bits
Distress Oxide Inks
Distress Paint
Darkroom Door Sentiment stamp

Various Dies
Stencil from stash
Transparency


Photobucket

Monday, September 6, 2021

You are my Sunshine with Pinkfresh Studio Happy Blooms by Fiona Johnstone

Hello everyone

Today I have a quick layout with some more Pinkfresh Studio Happy Blooms! 

You are my Sunshine


Love this background paper, so stunning and creates the most beautiful floral frame for your layout. So with that in mind I cut down my photo so I could add some paper layers and it would still fit within the frame. 

Naturally a few more flowers from the Floral ephemera pack were needed, as well as some bits and pieces from the regular Ephemera pack. 


Like last time, I used a mix of stickers and embellishments from some of the other Pinkfresh collections and I have also used a little CVS These Days embellishments. I've fussy cut the butterfly and also the tag at the top of the photo, then created a shipping tag from leftover paper. 

My title is a little quote from the Pinkfresh Ephemera pack, I wanted something small enough to work within the frame design. 


Thanks for stopping by
Till next week

Fiona
x


Products Used:

Pinkfresh Studios Happy Blooms paper - Heirloom
Pinkfresh Studios Happy Blooms paper - Homegrown
Pinkfresh Studios Happy Blooms paper - Happy Place
Pinkfresh Studios Happy Blooms paper - Daydream
Pinkfresh Studios Happy Blooms paper - Memories 
Pinkfresh Studios Happy Blooms paper - Cottage
Pinkfresh Studios Happy Blooms Floral Ephemera
Pinkfresh Studios Happy Blooms Ephemera
Pinkfresh Studios Some Days Cardstock Stickers
Pinkfresh Studio Noteworthy Cardstock Stickers
Pinkfresh Studio Keeping it Real Puffy Phrase Stickers
CVS These Days Cardstock Stickers
CVS These Days Epoxy Buttons
Assorted Enamel Dots

Friday, September 3, 2021

Always Follow Your Dreams using Bella Blvd To The Moon by Kerryn Fry

Good morning everyone.
The page I'm sharing today has been created with
The photo of Mr H was taken in July 2009
after his first day of school.
I think he might have enjoyed himself.


The base is my favourite Bazzill Kraft cardstock,
but only a small amount of the kraft remains visible.
For the background effect, I have used
and Distress Oxide Inks Chipped Sapphire 
and Hickory Smoke.
Love the result!


The photo has been matted with Bazzill Raven cardstock
and then layered with the reverse side of the Borders paper.
I have created the embellishment cluster in the 
top right corner of the photo with
The date is also from the sticker sheet.


The paper layers under the photo
alternate with dark and light patterns.
I've used a border punch on the Imagine paper
and a black gel pen to add a border to


The quote has been hand cut from the Borders paper
and added to the page using foam tape.
The yellow corners are from the Sticker Sheet
and have also been lifted with foam tape.


The heart strip is cut from the borders paper
and added to the bottom of the photo.
I've then clustered some stickers
around the bottom left corner of the photo.
The heart sticker has been lifted with foam tape.


has been covered Hickory Smoke Distress Paint.
I have added it directly to the page with glue.


Thank you for visiting the blog today.
I hope you are inspired by the page
and have a chance to create over the weekend.
Please join us again on Monday
for Fiona's next project.

Products used:
Bazzill Kraft Cardstock
Bazzill Raven Cardstock
Bella Blvd To The Moon - Shoot for the Moon
Bella Blvd To The Moon - Reach for the Stars
Bella Blvd To The Moon - The Sky's the Limit
Bella Blvd To The Moon - Imagine
Bella Blvd To The Moon - Borders
Bella Blvd To The Moon - Doo Hickey 12x12 Sticker Sheet
2 Crafty title Always follow your Dreams
Distress Oxide Inks
Distress Paint
Echo Park 6x6 Grid Stencil


Photobucket