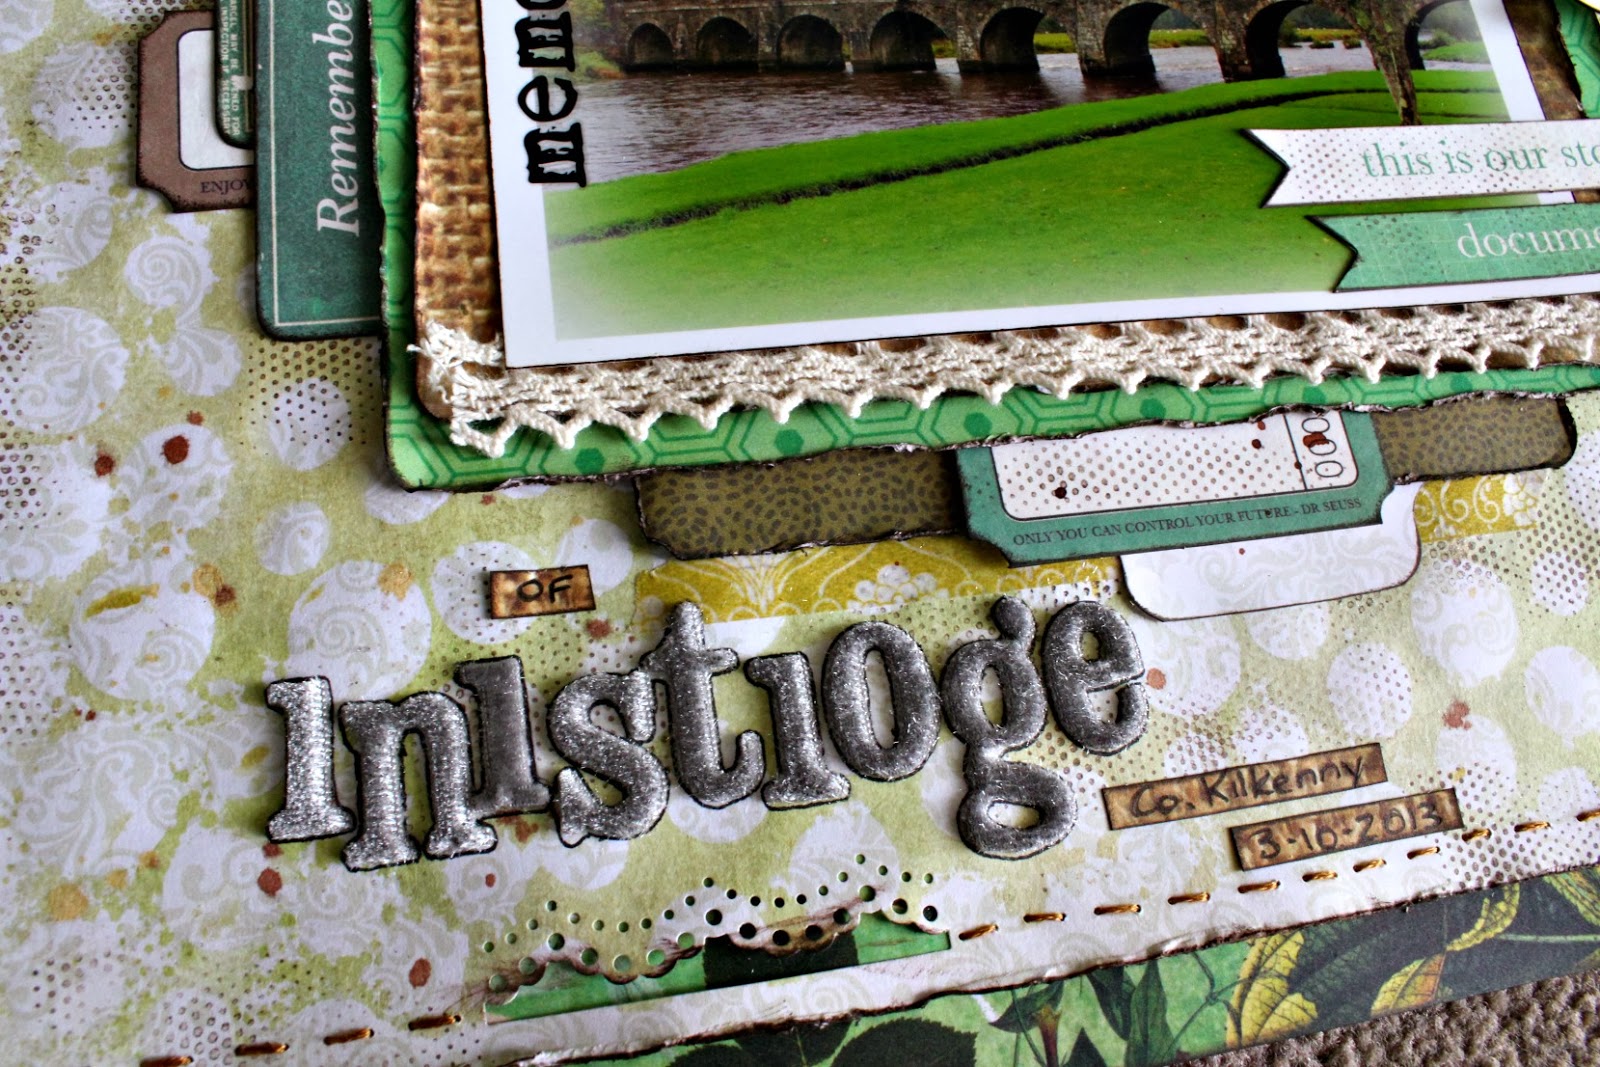
For my cluster I have layered some Green Tara flowers, 2Crafty Summer Leaf Stem, that I've kept raw & diecuts & stickers from the Far & Away collection.
Here I've fussy cut around the red pattern on the reverse side of the Word Labels paper to create a scalloped effect to help break up all those straight lines....plus it tied in with the background quarterfoil stamping :)
And here is a better look at some of the background stamping with the mists....plus a few of the stickers & diecuts.
I've created a few layers of different lengths & widths in behind the photos...with one that I cut into a banner shape at the sides of the photos....and I've distressed all the edges to help create a bit of texture & depth.
And here is an overall close up of the main area of the page...with the title & a few stickers & diecuts.
Ok next layout using the Limelight collection from Kaisercraft....
"True Love"
Oh how I love this collection!
Again, another grid type pattern for the background in green...with a bit of a black border using the reverse side of the Dawn paper. To create my background, I first randomly sprayed the green "Bright" paper with some White Linen Dylusions ink spray....which helped tone down the brightness of the paper. I then used the Kaisercraft "Flutter" template with some modelling paste to create the pretty spray of butterflies across the page.
Once this was dry, I placed the template back over the page & then stamped some of the butterflies with Kaisercraft script stamp & some Prima chalk ink (Tin Can). I then continued on with creating the rest of the layout, adding layers of papers & adding all my embellishments. When the page was finished, I then decided that there was too much white on the butterfly background (yep, I tend to do this a lot!). So I decided to colour random butterflies with 2 different glimmermists, which meant I had to pull the papers & embellies back off the page (yep, I tend to do this sort of thing a lot if I'm not happy with it!). So again, I laid the template back over the page & then brushed the glimmermist on with a small paint brush. Surprisingly, this didn't affect the script stamping...I thought that it may have made the stamping run & smudge, but nope, it was all fine :) I then finished off the background work by adding a few random flicks of slate glimmermist....and then I placed all my layers & embellies back into place on the page to finish it all off :)
Here are a few close ups....
The main cluster with some of the leafy diecuts from the Collectables pack as the base of the cluster - this has been one of my most favourite Collectables pack EVER - there are just so many pieces in this pack that are so ME :)...also some Petaloo, Manor House & Kaisercraft flowers.
I've used a 2Crafty Ornate Oval Frame to frame my photo....adding some modelling paste for texture, then painting it in Liquid Pearls for a lovely pearly sheen, & I then finished it off with a light coat of painted Wheatfield glimmermist. To the left of the frame I've used one of the clock face diecuts from the Collectables pack with a butterfly sticker from the sticker sheet layered on top.
A few of the banner stickers from the sticker sheet.
For the title I've used the black alpha stickers from the TC Far & Away sticker sheet, plus the word Love from the 2Crafty ATC word pack, that I first coated in gesso & then coloured with a grey gelato.
Here is a close up of the butterflies with the stamping & some painted in glimmermist.
And here's a bit of a close up to show the layers of papers, all distressed & inked for more definition & depth...plus one of the diecut banners from the Collectables pack.
And as always....a close up of the main area of the page.
The pic is of my Mum & Dad, who are still together & going strong after 53 years of marriage <3
I hope you have enjoyed your visit today & have been inspired by my
creations using both of these collections this month :)
Until next time...take care & happy scrapping.
Linda xx


