HOMEABOUT USSHOP HERECROPDATESCURRENT CHALLENGESTIPS&TUTORIALS
Showing posts with label Jillibean Soup. Show all posts

Monday, September 28, 2020

Crazy Cousin Crew with CVS Daydream by Fiona Johnstone

Hello all

Another share today using Cocoa Vanilla Studio Daydream. 

Crazy Cousin Crew


I love this background paper - so easy,no background work required! I have combined this with a rare and fave photo of the kids with their maternal cousins - rare as we live across 3 states!

I have used a simple banner style to frame the kids in the photo then embellished with a mix of stickers and ephemera from the Daydream collection. Adding a little flair button at the end. 


I've used a cut file for my title and used up various pieces of the patterned paper in the range, then embellished with some flowers from the ephemera pack to finish the design & a sprinkle of enamel dots. 

I've finished the layout with some word stickers. 


Thanks for stopping by
Till next week

Fiona
x

Photobucket

Products Used:

Cocoa Vanilla Studio Daydream - Sweet Serenity 
Cocoa Vanilla Studio Daydream - Garden Variety
Cocoa Vanilla Studio Daydream -  Aflutter
Cocoa Vanilla Studio Daydream -  Stepping Stones
Cocoa Vanilla Studio Daydream - Sun Shower
Cocoa Vanilla Studio Daydream - Up in the Clouds
Cocoa Vanilla Studio Daydream - Ephemera
Cocoa Vanilla Studio Daydream - Flair Buttons
Cocoa Vanilla Studio Daydream - Cardstock Stickers
White Cardstock - Bazzill 
Jillibean Soup Enamel Dots

Monday, January 27, 2020

Just Hanging About with Jillibean Soup Spoonful of Soul by Fiona Johnstone

Hello everyone

This week I'm sharing a layout with the super cute, Jillibean Soup Spoonful of Soul collection:

Just Hanging About


I wanted to go with an outdoors/garden theme for this layout to match my photo of my youngest hanging off a tree branch. So I chose my Kaisercraft butterfly stencil and did some masking with texture paste mixed with some Dylusions paint. 

Once dry I layered up some pretty Spoonful of Soul patterned papers to the centre of my cardstock, then mounted the cardstock onto the Bite Size bits paper. 


Then I painted the Just Hanging About 2Crafty title with some lightened Dylusions Paint in Lemon Zest. I've used the JIllibean soup pea pod diecuts and enamel dots to embellish my page before adding the gorgeous prima flower to complete the layout. 


Thanks for stopping by
till next week

Fiona
x
Photobucket

Products Used:

Jillibean Soup Spoonful of Soul paper - Free Spirit
Jillibean Soup Spoonful of Soul paper - Gentle Soul
Jillibean Soup Spoonful of Soul paper - Be Fearless
Jillibean Soup Spoonful of Soul paper - Bite Size Bits
Jillibean Soup Spoonful of Soul Pea Pod Parts - Die Cuts
2Crafty Chipboard - Just Hanging About
Dylusions Paint - Rose Quartz
Dylusions Paint - Lemon Zest
Texture Paste
Prima Flowers - Apricot Honey Berry Sweet
Kaisercraft Butterfly Skies template

Monday, October 21, 2019

Loving these Moments
with Jillibean Soup Spoonful of Soul
by Fiona Johnstone

Hello everyone

This week I have a layout I created using the Jillibean Soup Collection - Spoonful of Soul. Love these colours and found them great for beachy/coast photos. 

Loving the Moments
Love the fun scalloped paper, it always seems so mermaidy to me. I have teamed this up with the co-ordinating papers to create my design. After adding my photo I have added small flower clusters to the left and right of my photo. 
I've added some journaling stickers and finished off with some 2Crafty Chipboard leaves, inked and then painted my 2Crafty Chipboard title before finishing off with some expoxy stickers. 
Thanks for stopping by
Till next week

Fiona
x
Photobucket
Products Used:
Jillibean Soup Spoonful of Soul paper - Be Fearless
Jillibean Soup Spoonful of Soul paper - Bite Size Bits
Jillibean Soup Farmhouse Stew paper - Goodness Gracious
Jillibean Soup Spoonful of Soul Epoxy Stickers
2Crafty Chipboard Lattice Leaves
2Crafty Chipboard Title - Loving these Moments
49 & Market flowers
Stickers
Kraft Cardstock

Monday, October 14, 2019

So Fun & Such an Amazing Day with Bella Blvd Let's go on an Adventure by Fiona Johnstone

Hey everyone

A couple of travel pages with the fun and bright Let's Go on an Adventure collection from Bella Blvd. First up

So Fun
   
 
I've added some texture paste trough a stencil for my background to create a bubble effect to mimic the whitewater. Next I have haphazardly layered some complimentary patterned papers to create some movement to my page. 
I've used icons from the Ephemera pack in the collection to embellish my layout, adding some wood veneer shapes and some journaling stickers to finish it off. 
Close ups of the texture and embellishments. 

And my second page:

Such an Amazing Day

For this layout I have used a neutral base paper as I had a lot of photos to fit on to the page of our trip up the mount to Skyline Rotorua. A fun day out I wanted to include multiple photos to capture the day. To enable me to use multiple photos I have used a simple design of paper strips running down the page in co-ordinating colours. 
next I have added my photos in a linear pattern, before adding embellishments from the ephemera pack and a few pieces from some other travel collections - particularly Pinkfresh Studio Out and About. 

Thanks for stopping by
Till next week
Fiona
x
Photobucket
Products Used:
So Fun
Bella Blvd Let's go on an Adventure paper - Wildflowers
Bella Blvd Let's go on an Adventure paper - Park Map
Bella Blvd Let's go on an Adventure paper - Shy foxes
Jillibean Soup Rainbow Roux Pinch of Colour
Bella Blvd Let's go on an Adventure Ephemera Icons pack
Kaisercraft Lucky Dip Wooden Flourish Travel 
Cocoa Vanilla Studio You Rock Wood Veneer Shapes
Simple Stories Hello Summer 4x6 Stickers
Thickers
Texture Paste
Mask
White Bazzill cardstock 
Such an Amazing Day
Bella Blvd Let's go on an Adventure paper - Wildflowers
Bella Blvd Let's go on an Adventure paper - No Wifi Script
Bella Blvd Let's go on an Adventure paper - Park Map
Bella Blvd Let's go on an Adventure paper - Shy foxes
Bella Blvd Let's go on an Adventure Ephemera Icons pack
Pinkfresh Studio Out & About Cardstock Stickers
Pinkfresh Studio Out & About Mixed Embellishment Pack
2Crafty Chipboard Such an Amazing Day

Friday, August 23, 2019

Follow Your Heart using
Jillibean Soup Spoonful of Soul
by Kerryn Ffdry

Morning All!
Today I'm sharing my third page created with 
Jillibean Soup Spoonful of Soul.
The colours in this pretty collection were perfect for this photo,
my beautiful niece playing outside while we were on holidays in 2012.
She is such a cutie!

 I started with my norm, Kraft cardstock, but have left it clean for this page.
I have layered the patterned papers under the photo
and then lifted the photo with foam tape.
A few elements have been hand-cut from the papers,
like the buildings and colourful scallops to embellish the page
and I've hand punched a tag as well.


The 2 Crafty Clock Face Frame has been used to highlight my niece.
It has been covered with Wild Honey Distress Paint
and then I've added Stickles Diamond Glitter Glue to the numbers on the clock.


There is plenty of  2 Crafty chipboard foliage to embellish the page. 
I've used 2 Crafty Leafy Twig Branch and cut it into two pieces.
It's been covered with Pine Needles Distress Paint.


The 2 Crafty Spring Flower Bunches have been painted with
Mowed Lawn, Victoria Velvet and Dusty Concord Distress Paint.
The Dusty Concord gave the blooms a few highlights
and then I've layered them over the Leafy Twigs. 


The final chipboard addition to the spray of foliage 
They were covered with Evergreen Bough and Picket Fence Distress Paint.
Once dry, I have added Diamond Stickles to the white part of the shrub.
I have again added foam tape to lift the layers of plants.
The Pea Pod Parts Die-Cuts were then used to add the finishing touches to the page,
small hearts, tiny blooms and the flowers.


The 2 Crafty title Follow Your Heart has been painted with Picket Fence Distress Paint.
I've used foam tape to lift the title to create more dimension.
The final touch is some string on the tag.


Thanks for dropping by today,
hopefully you have enjoyed the project.
Have a fab weekend 
and join us again on Monday fro Fiona's next page.


Products Used:


Photobucket

Monday, July 22, 2019

You Inspire Me
with Bella Blvd Let's Go on an Adventure
by Fiona Johnstone

Hello everyone

Loving the bright, fun colours in the Bella Blvd Let's Go on an Adventure. Eventhough it was created with an outdoorsy /camping vibe, the range is certainly suitable for any images with it's bright & colourful B sides. 

You Inspire Me
As my photo is quite neutral in colour I decided to go with some bright and funky papers and this collection was perfect. I've layered the papers on to white cardstock to make them stand out and added a black border for that added pop. 
I've added some flower clusters to embellish my layout, drawing the colour inspiration from the floral patterned paper - Wildflowers. I've used these fab foam alphas from Jillibean soup to create a large title for my layout and finished with some enamel dots to add a little more colour. 
I've even added some visible journaling to this page! Don't love my handwriting and usually like to keep it hidden but occasionally you will see some! 
Thanks for stopping by
Till next week

Fiona
x
Photobucket
Products Used:
Bella Blvd Let's Go on an Adventure paper -  In the Woods
Bella Blvd Let's Go on an Adventure paper - Shy Foxes
Bella Blvd Let's Go on an Adventure paper - Wildflowers
Jillibean Soup Rainbow Roux - Pinch of Color
Jillibean Soup Spoonful of Soul Foam Stickers 6x12
White Cardstock
Green Tara Cherryblossoms - Red
Green Tara Cherryblossoms - White
Yellow Roses
Green Tara Leaves
Asstd Enamel Dots

Friday, July 5, 2019

Bloom & Grow using Jillibean Soup Spoonful of Soul by Kerryn Fry

Hi Everyone!
Today I am sharing my second page using the collection,
Jillibean Soup Spoonful of Soul.
I am loving the colours in this range.
The photos are my gorgeous niece giving me her version of 'cheese'
 

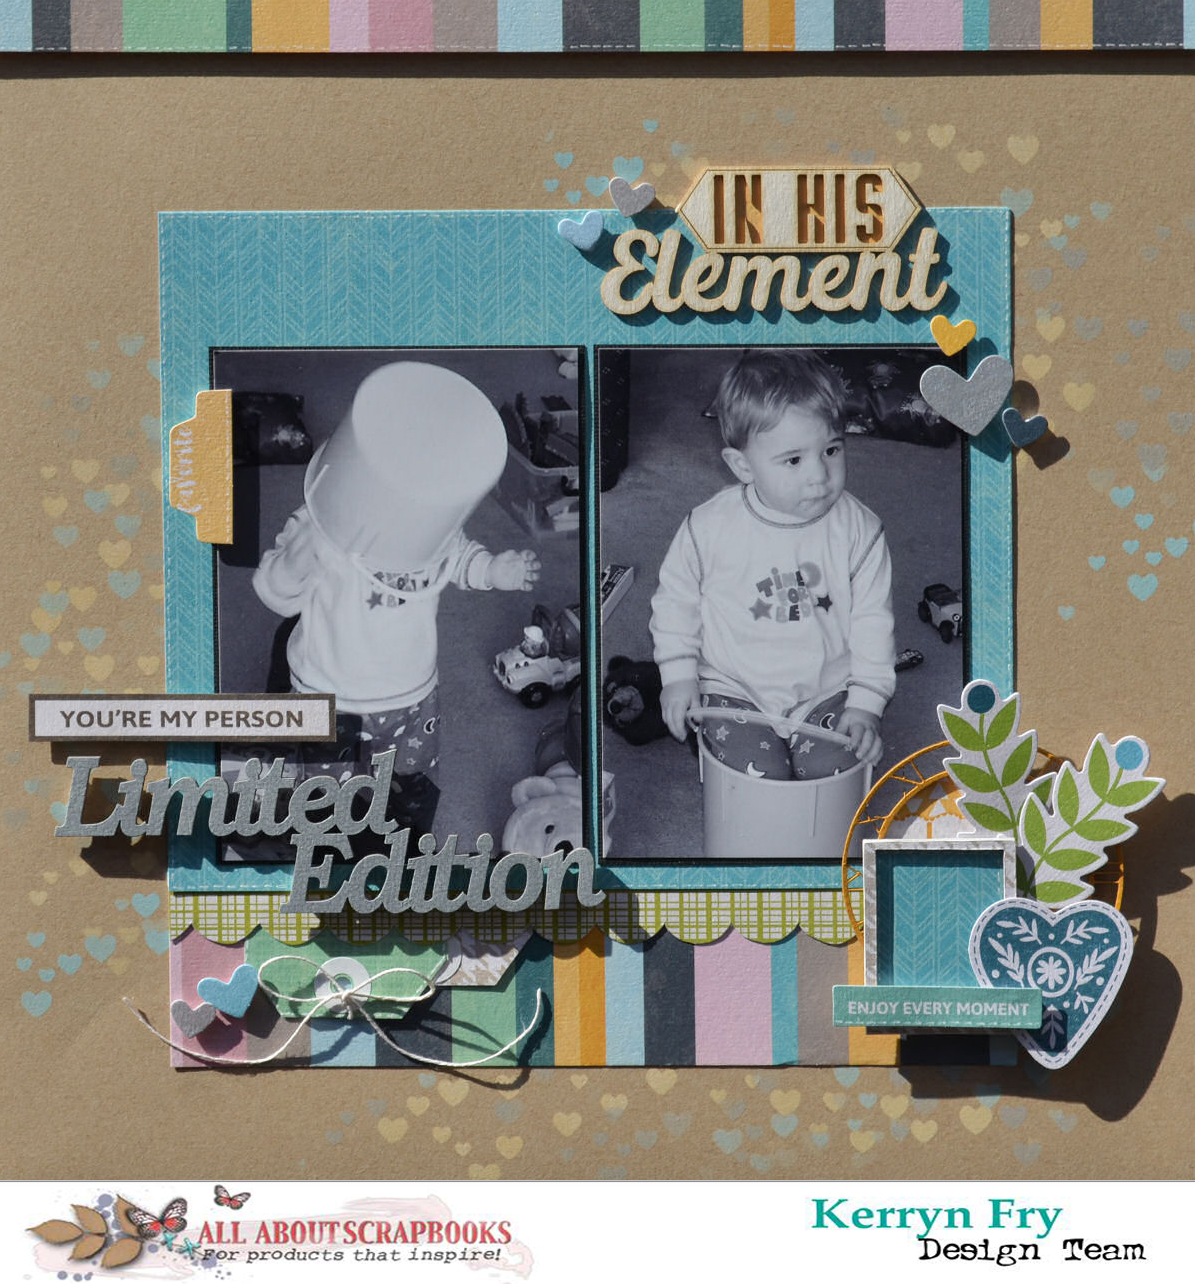
A simple background effect this week.
The page started with a kraft cardstock base.
Then using white paint and a 6x6 Prima stencil,
I have added interest to different areas of the base to frame the photos.
The photos have been matted with black cardstock
to pop above the layers of papers.


The 2 Crafty Flower Scene has been used to either side of the photo.
The chipboard piece has been cut in two and base-coated with gesso.
I've hand painted the flowers with Distress Paint to match the papers. 
Once the paint had dried, I've added some white doodles with a white gel pen.


The cluster in the bottom left corner of the page 
has been created with diecuts from the Pea Pod Parts.
I've used the journal spot, hearts and flowers
and given them a lift with some 3D foam. 


The 2 Crafty title Bloom & Grow was undercoated with gesso,
and then roughly swiped with Distress Paint.
You can see steaks of white peeping through the paint.
I've used more foam tape to layer the title on the photos.


And that's a wrap!
Thank you for dropping by today,
I hope you have been inspired.
Enjoy your weekend
and join us again on Monday for Fiona's next project.

Products Used:


Photobucket

Friday, June 28, 2019

Limited Edition using Jillibean Soup Spoonful of Soul by Kerryn Fry

Good morning everyone!
Hope you are all keeping warm.
Today I am sharing the first page I have created with 
the collection, Jillibean Soup Spoonful of Soul.
I have found ore photos from the archives
and these ones I just couldn't resist.
At 18 months old, this little cutie was full of beans
and always made us smile.

The Kraft Cardstock background was a great base 
for the softer colours in this collection.
and Distress Oxide Inks to create the background effect.
Scattered Straw, Tumbled Glass and Hickory Smoke were the perfect match.
I've layered the colours at three different points surrounding the photos.


'In His Element' has been added as a sub title.
I've backed the board with patterned paper to add a little more yellow to the page.
The hearts from the Pea Pod Parts Die-Cuts 
were a great addition either side of the board.
Some foam tape have given them some dimension.


The embellishment cluster in the bottom right corner of the page
has been created with a 2 Crafty Clock Face,
2 Crafty small Polaroid Frame and a few die-cuts.
I have painted the Clock Face and added some patterned paper.
The Frame has been covered with patterned paper
and then backed with patterned paper to use for some journaling.


I have punched out some tags using a snippet of green from the Bite Size bits
and a piece for Choose Joy paper.
With some string and a few more hearts lifted with foam tape,
I have finished the small cluster below the title.
Using a white pen, I have doodled a faux stitch line on different elements.


The main title 2 Crafty Limited Edition has been covered 
with Hickory Smoke Distress Paint.
I have then stamped the title using Kaisercraft Textured Stamp and white ink.
The title has been added to the page using foam tape to separate it from the B&W photos.


Products Used:


Photobucket

Wednesday, June 12, 2019

"Love story", by Amanda Hartmann

Hi all,

Welcome to another Wednesday share day from me! I have combined some elements from a few collections and added some mixed media. The hero's of the page, are the wonderful floral diecuts from the Pink Paislee Horizon collection.

For the base I layered Kaisercraft- Paisley Days - "Smiles" wood grain paper on some white cardstock. I cut the bottom border strip from the Kaisercraft paper and used this across the page too.

At the top edge of the page, I added some stencilling: using white gesso through the Kaisercraft Mandela Template. Next, some colour splatters. For this I used: Distress Stain in Cracker Pistachio and Colour Blast Shimmer Spray in Just Blue. I also splattered more white gesso.

Once this was dry, I added the photo and built up the layers of those beautiful Pink Paislee Horizon die cut flowers.


Additional stickers added to the page are some stars and word stickers from: Jillibean Soup: Rainbow Roux Label stickers, as well as some Wishing Bubbles in Taffy.


For the title, I used a lovely 2Crafty chipboard piece. A perfect title for this anniversary photo. I inked and added stain to the chipboard before finishing with dimensional magic. For the "19", I used black sticker numbers from Jillibean Soup: Rainbow Roux Label stickers set.

That's my page.... I do love how the colour combinations came together on this page!


Thank you for looking today!
Amanda


Products used:
Colour Blast Gesso
Colour Blast Shimmer Spray in Just Blue
Jillibean Soup: Rainbow Roux Label stickers
Wishing Bubbles in Taffy
2Crafty chipboard title - Just love our story
Photobucket